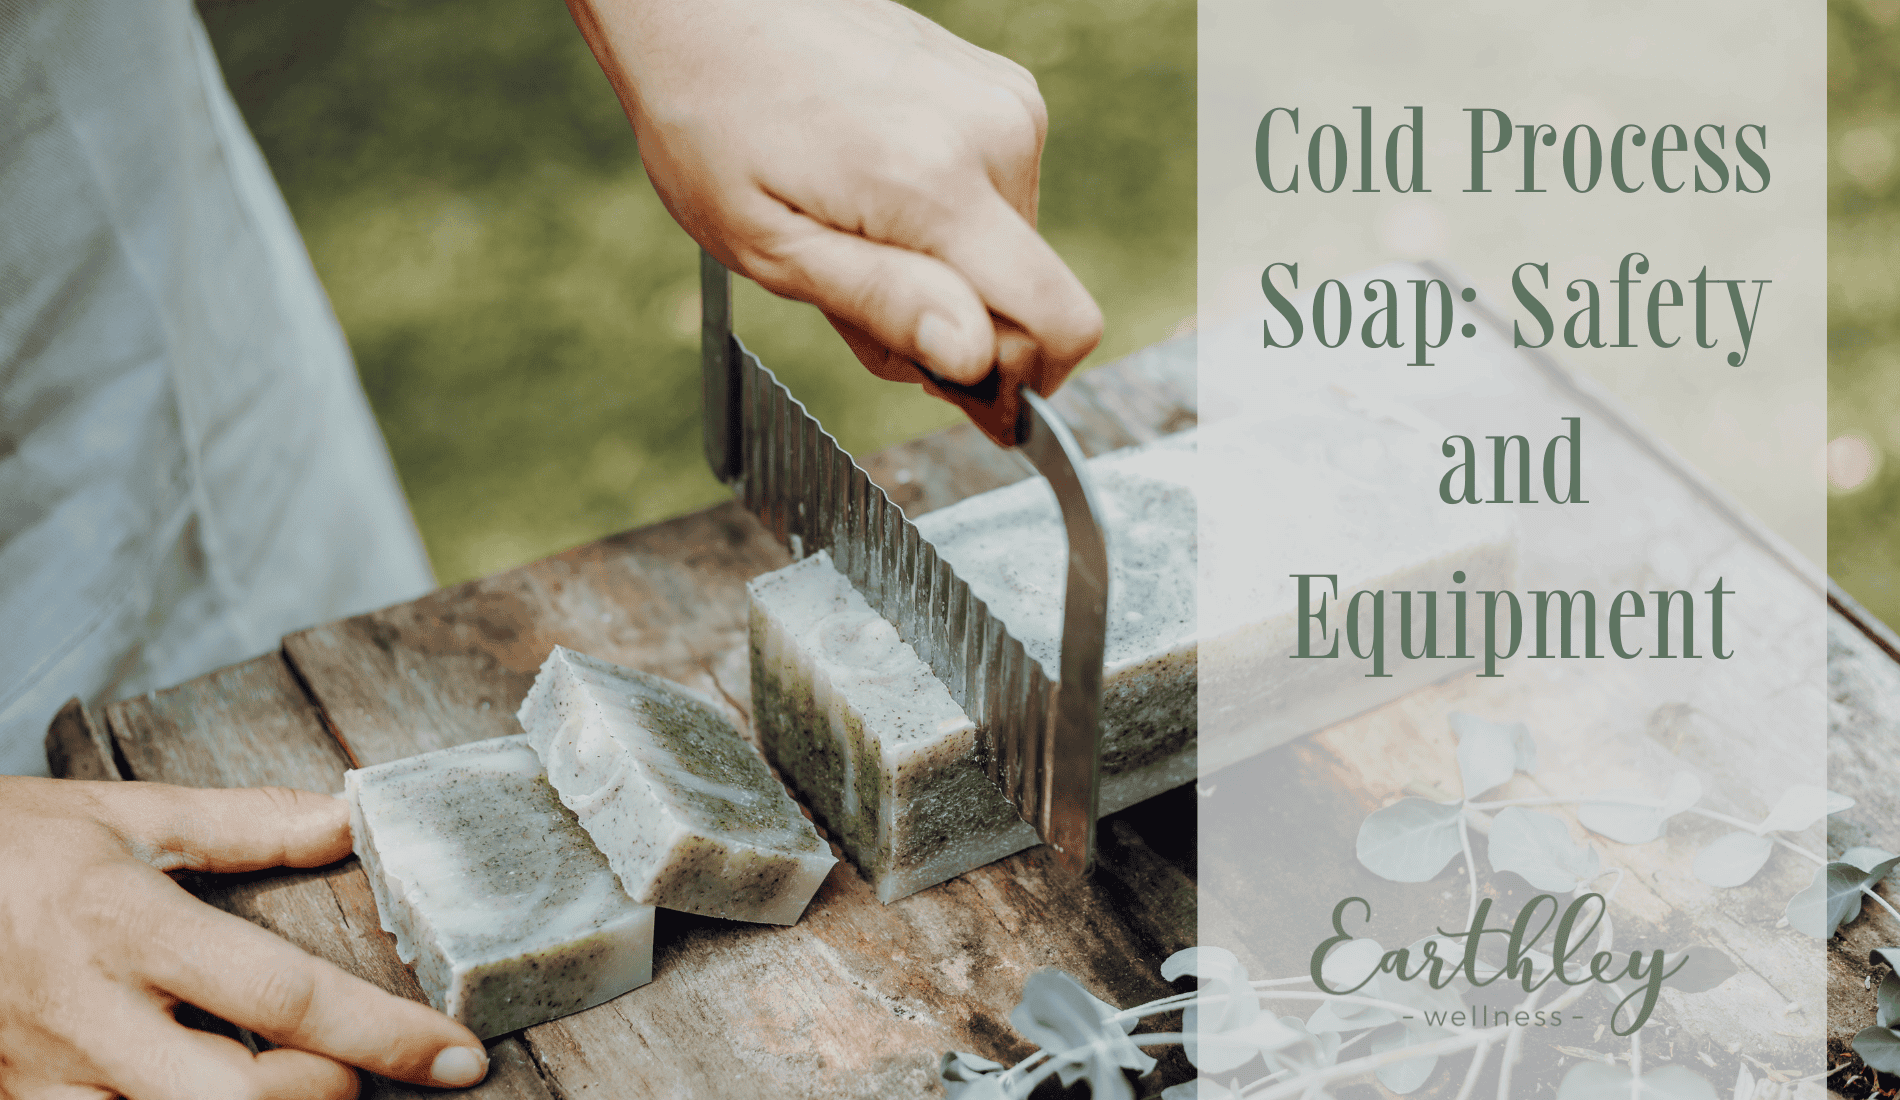
Cold Process Soap: Safety and Equipment
I had been super excited about the idea of making soap for years I started diving into research. I was too nervous to try it at first, because I wasn’t sure about cold process soap safety. (Would lye hurt me?!) Once I finally did it, I wasn’t sure why I waited so long! It’s actually not a whole lot harder than making my magnesium lotion recipe — it’s even a very similar procedure. Of course, you do have to be more careful with soap because magnesium chloride is perfectly safe, while lye can be very dangerous.
If you’ve been interested in making soap, too, but you’ve been too nervous to start, you should definitely dive in. I’m hoping that I can show you just how easy it is, and encourage you to just go for it. Really. You can do this!
The Basics of Cold Process Soap (And Why You Should Make It!)
There’s no way that I can cover every single thing about soap in this one post, but I’m going to tell you all the most important things you need to know — and links to where you can learn even more.
So, cold process soap.
It’s hard to find quality soap these days (you can check out my collection available for sale on Earthley here). You can make your own for between $0.75 – $1 per bar most of the time (around $1.50 – $2 per bar if you want a lot of fancy additions, like clay, milk, or essential oils). It doesn’t take a whole lot of time, and you can get a ton of soap all at once. The average batch size is usually around 12 bars, which could last an average-sized family several months.
Soap-making is also fun. You can customize the types of oils in your soap recipe pretty easily so that it works best for your skin type and with your water. Everyone is just a little bit different, so their “ideal” soap will be different, too.
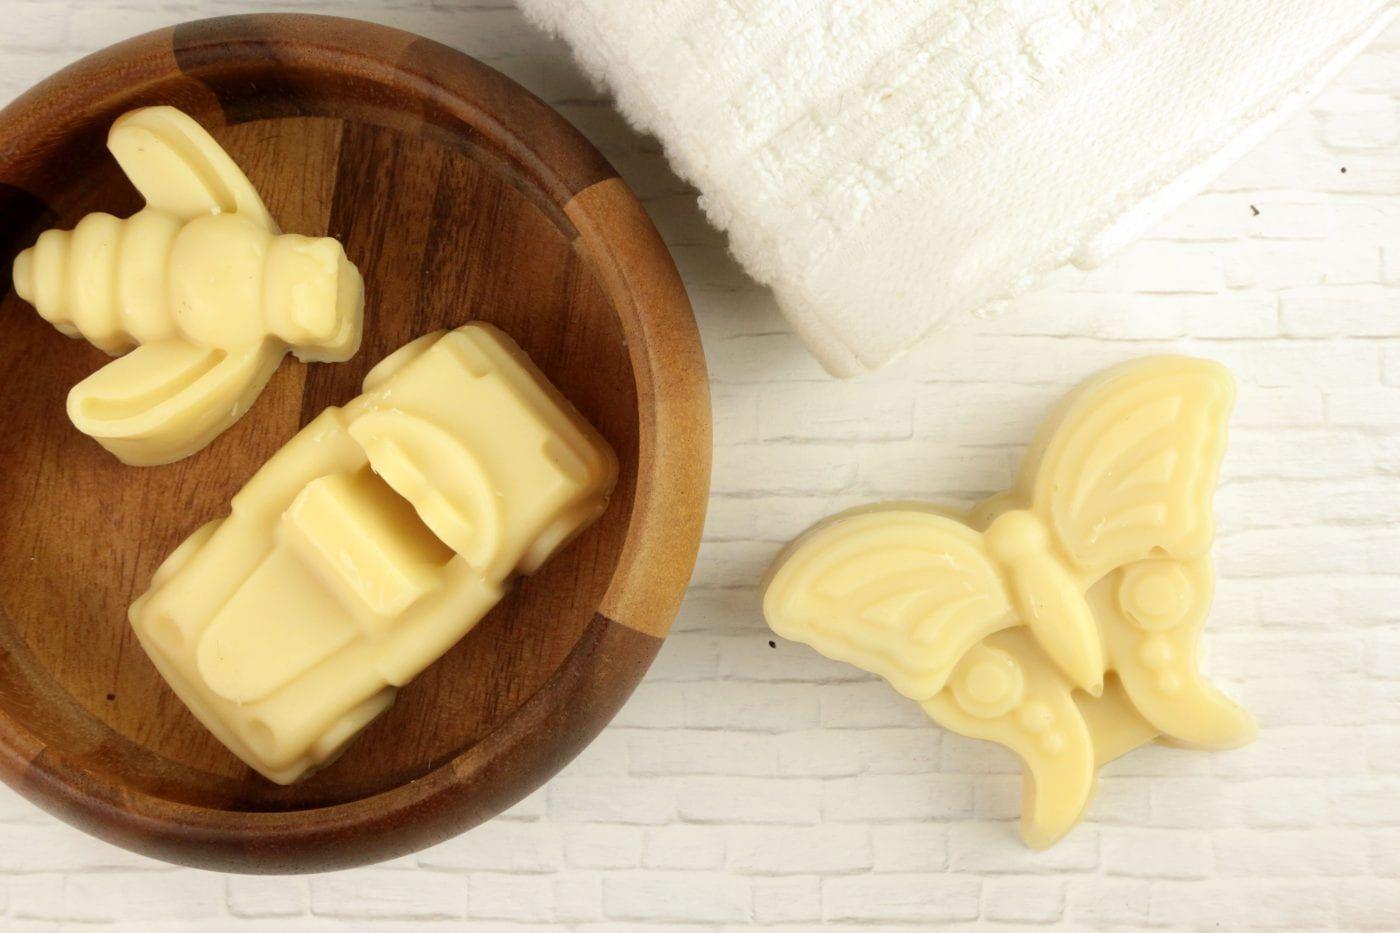
Plus, you can make all kinds of different types of soap — regular body soap, shampoo bars, facial soap, gentle baby soap, cleaning soap — the possibilities are endless!
For my first four experiments, I made pumpkin spice soap, green clay and coconut milk facial soap, coconut oil soap for laundry, and gentle coconut milk body soap. That’s just the very tip of the iceberg, too!
It’s just really exciting.
To summarize, you should make your own soap because you can:
- Use pure, natural ingredients
- Save money
- Customize your soap recipe for your family’s needs
- Make a lot, in a small amount of time
Pretty awesome!
Now, if you love this idea but just aren’t there yet (it did take me two years to work up the courage, after all, and I love to DIY all.the.things), then you can purchase pure, natural cold process soap from me at Earthley.
What You Need to Know: Cold Process Soap Safety
Safety matters in soap making, a lot. Cold process soap safety info is your first step to becoming a soap maker!
Lye is extremely caustic and can burn skin and should never be ingested. Keep kids away from lye at all times, including the fumes of the lye water used in soap making.
There are three main things to know about lye.
Sodium Hydroxide
This is the most common form of lye. It is used in making bar soaps. Most people buy it online at soap making stores, or on Amazon, but it can sometimes be found in the plumbing section of hardware stores. It’s used to make drugs, apparently, so businesses are cautious about who buys it now.
Potassium Hydroxide
This is a less common form of lye, and it’s used to make liquid soap. This, too, can be purchased online. I’ve made liquid soap a couple of times, and it’s a bit trickier, so don’t start with that.
Vinegar
Yes, plain ol’ white vinegar. This neutralizes lye, so I always keep a jug of it on my counter when I’m making soap. I pour vinegar into or onto all of my tools as soon as I am done with them. I have also never had a “real” spill on skin, but I would immediately pour vinegar onto the skin to stop the chemical burn. Once, I did have a small amount of lye spill onto my stove while I was pouring it and I used a vinegar-soaked cloth to clean it up safely.
We did once get a tiny bit of lye on the kitchen counter when I was making soap, and I thought I had cleaned it up…but then I touched the counter and my hands felt kind of itchy and were a bit red. My 5-year-old said the same thing about his hands because he had also come in and touched it. I used soap and water and a paper towel (which I don’t use for normal cleaning, but keep around for this kind of stuff) to thoroughly clean the counter. The paper towel turned yellowish-brown! After the third pass, it stayed white and I knew the counter was clean.
We washed our hands with soap and water and that was enough to get the traces of lye off. (Traces so small we couldn’t even see them.) Lye won’t melt your skin off immediately…but even tiny amounts can cause irritation, so just be careful.
In addition to your lye safety, you’ll need some additional safety equipment.
Gloves
When working with lye, wear gloves. Regular old latex kitchen gloves work fine. I wear them any time I’m touching the lye, or the newly-made soap.
Safety Goggles
I’ll be honest, I have some, but haven’t worn them. I’m very, very careful to pour lye far away from my body, but it’s not a bad idea to have a pair!
Exhaust Fan
Lye can create fumes when you mix it, so be sure to either mix it outside or under an exhaust fan. I do it under my fan on my stove, because I don’t want to carry extremely hot, caustic lye water into the house and risk spilling it, especially if kids are around. I try to soap at night, or during naps, but it’s not always possible, so I keep things in one small area and I stay right with them to keep kids safe.
What You Need to Know: Equipment
When you make soap, you will need a few key pieces of equipment to do it well.
Glass Measuring Cups
Glass is an inert material, so it’s my favorite to use for measuring soap materials. I use 2 and 4 cup measuring cups for the water and oils (respectively) and I use small glass bowls to measure the lye.
Scale
All of the measurements in a soap recipe are in weight, not volume, so an accurate kitchen scale is a must.
Immersion Blender
To stir the soap together effectively, an immersion blender is much easier and quicker than doing it by hand. I love mine. You don’t need anything fancy.
Thermometer
I tried to do some batches without this, but you should probably get one. A lot of recipes will tell you “set the lye aside to cool” but will not tell you how long it takes. A thermometer will tell you when it has occurred — you want the lye water to be around 130 degrees. In my experience, it takes a good 30 – 45 minutes for this to happen, but may take longer depending on the temperature of your kitchen, the amount of lye water, etc. Wait longer if needed…or just invest in a thermometer now.
Stainless Steel Pot
You need something to melt your oils and blend your soap in. Some people use an 8-cup glass measuring cup, melt their oils in the microwave, and blend directly in the measuring cup. I don’t use a microwave, so I just use a stainless steel pot. I don’t have a ‘special’ one just for soap-making; instead I just pour vinegar all over it and wash it carefully when I’m done.
Spoons
You’ll need several spoons (preferably steel) to measure and mix various oils, the lye water, additions, etc.
Silicone Spatula
I didn’t have one of these at first, but it makes it much easier. It gently scrapes all the soap out of the pot, stirs in essential oils or other ingredients, and smooths the soap in the mold. They’re cheap and everywhere; just get one.
Mold
Your soap needs a place to rest and harden — your mold! I use this silicone loaf pan. I also have another couple silicone loaf pans I bought at Aldi. Silicone pans are easiest to use because you can easily pop the soap right out. There are plenty of different types of molds out there. You can use individual molds, or you can even use old milk cartons lined with parchment paper (cut open). It doesn’t have to be fancy.
Knife or Soap Cutter
After your soap has hardened, you’ll need something to cut your soap with. I started out using my kitchen knives, but later bought a soap cutter (like this one). They’re pretty inexpensive and you can get fun-shaped ones, too.
Are you feeling more ready to dive in…or more intimidated than ever?!
It’s really not that hard…honestly. But if you’re not ready yet, you can purchase pure, natural cold process soap from me at Earthley.
Some of our top recommendations:
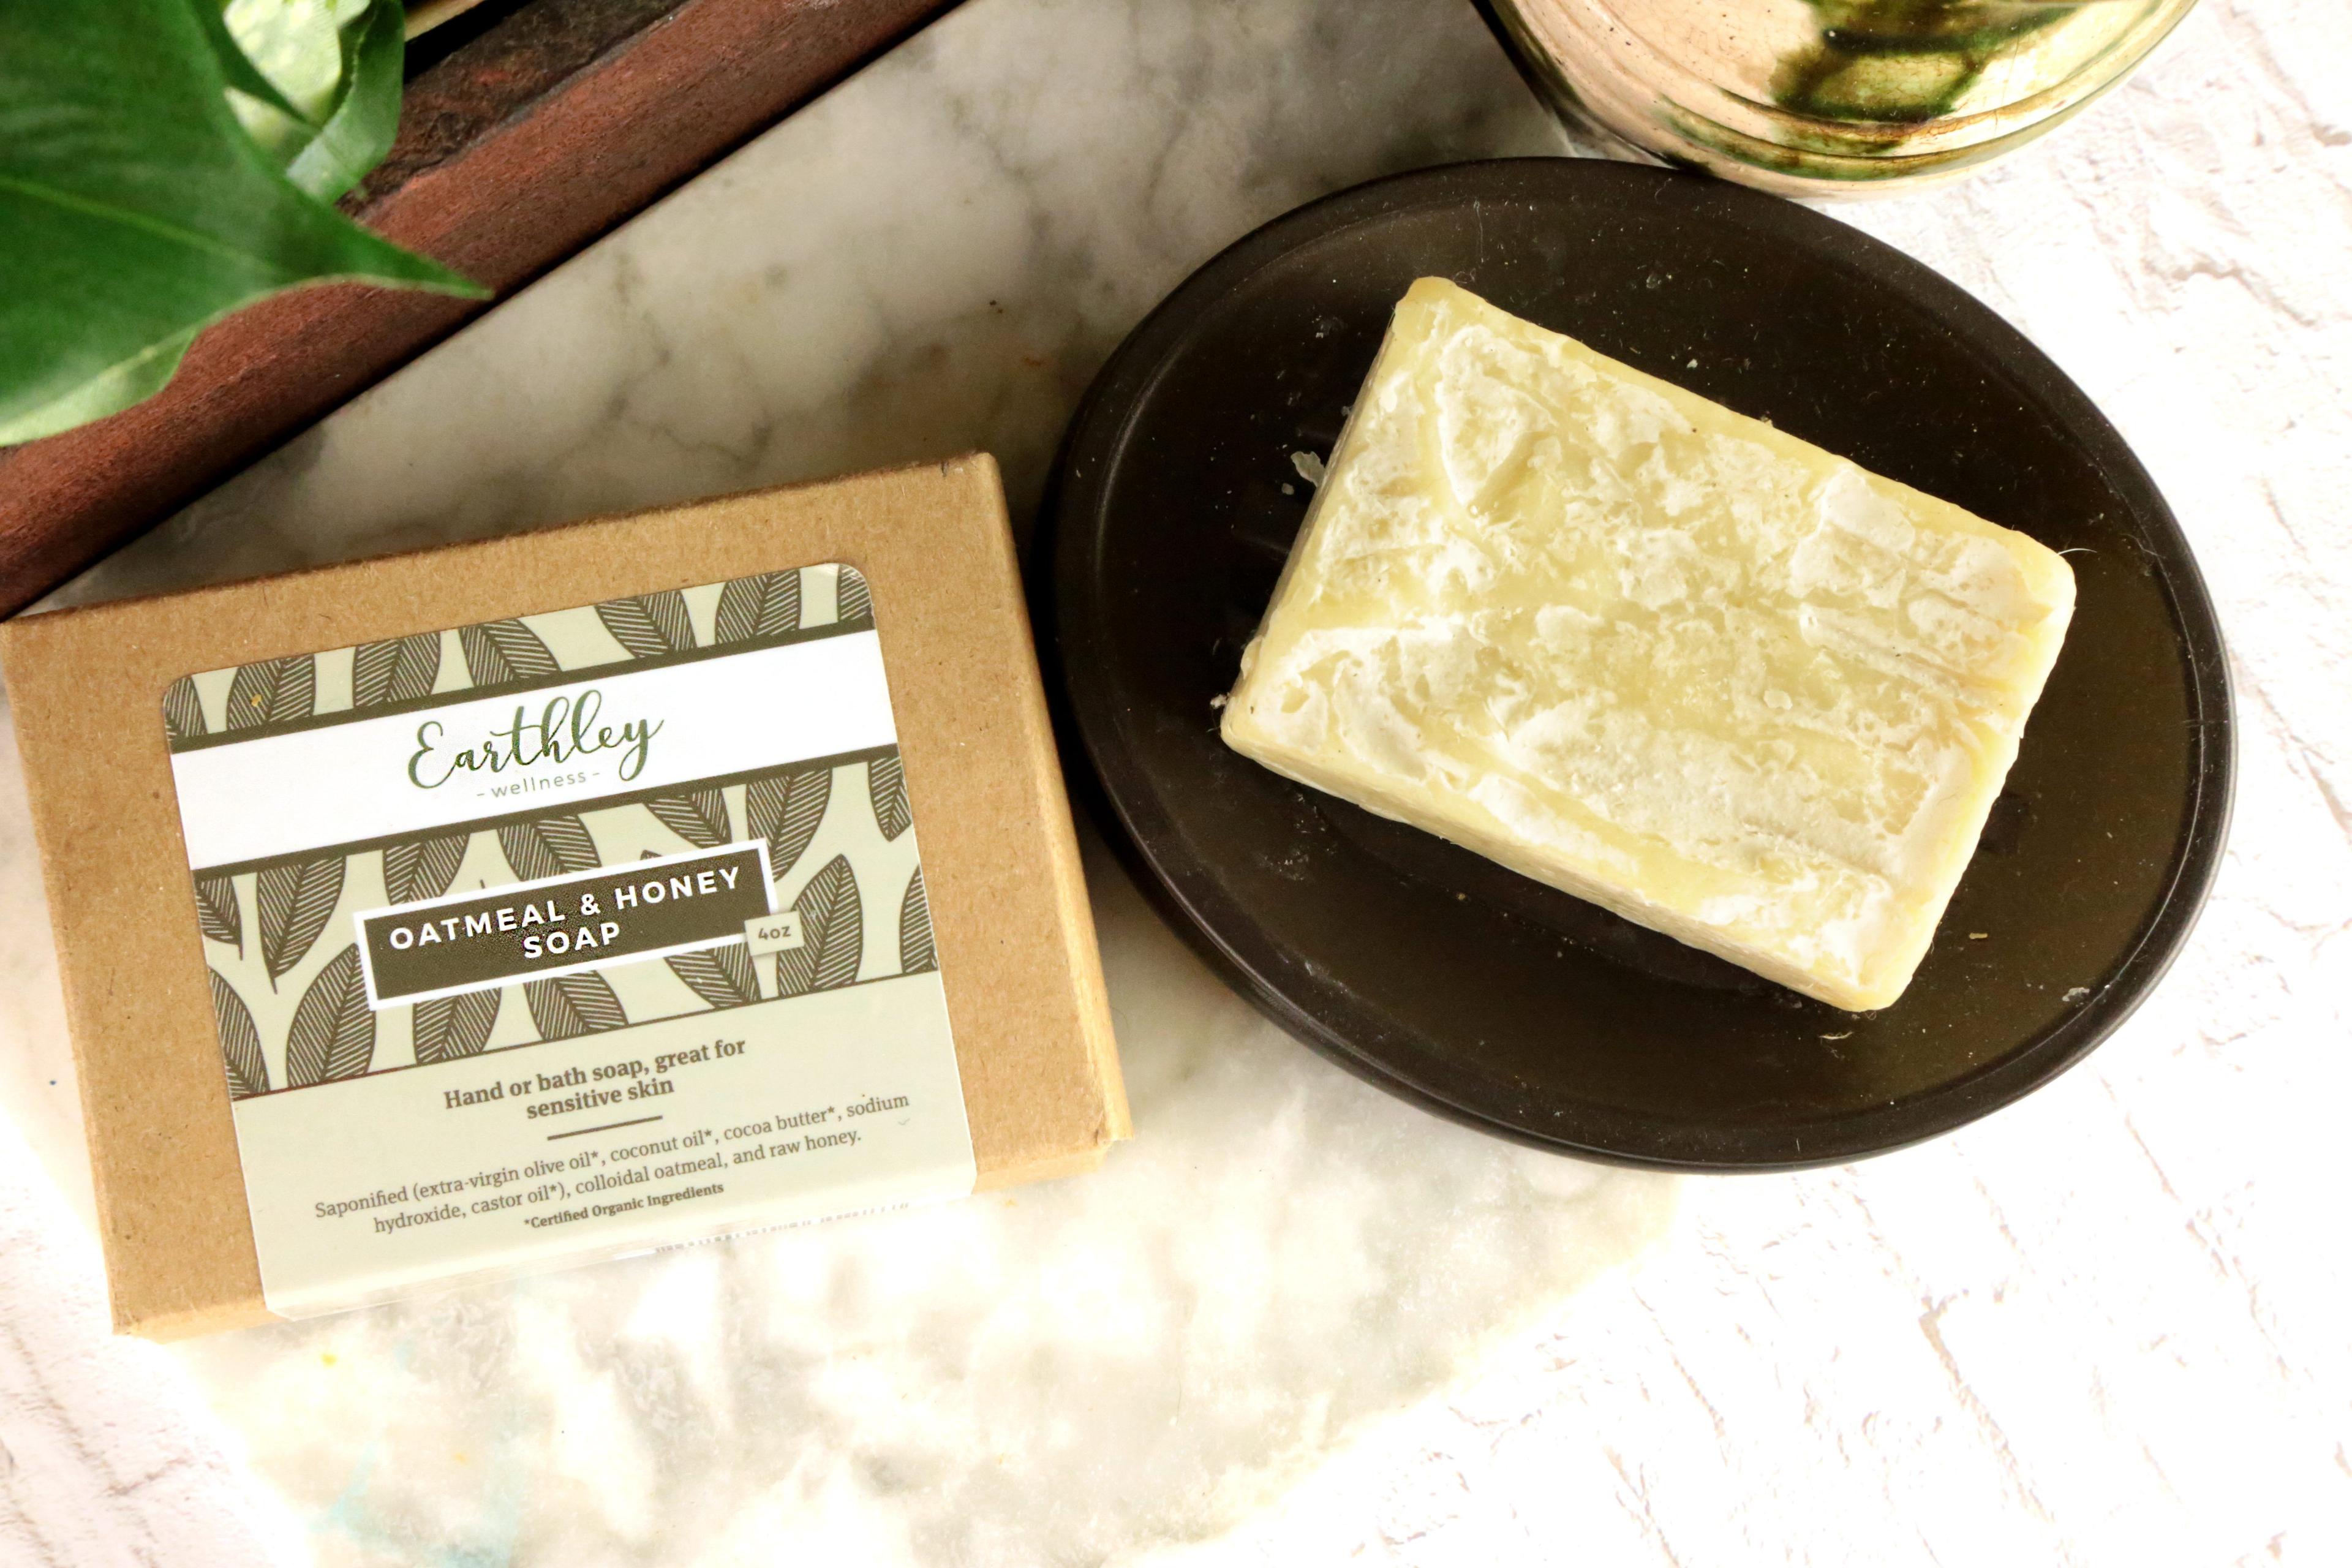
For dry, damaged skin
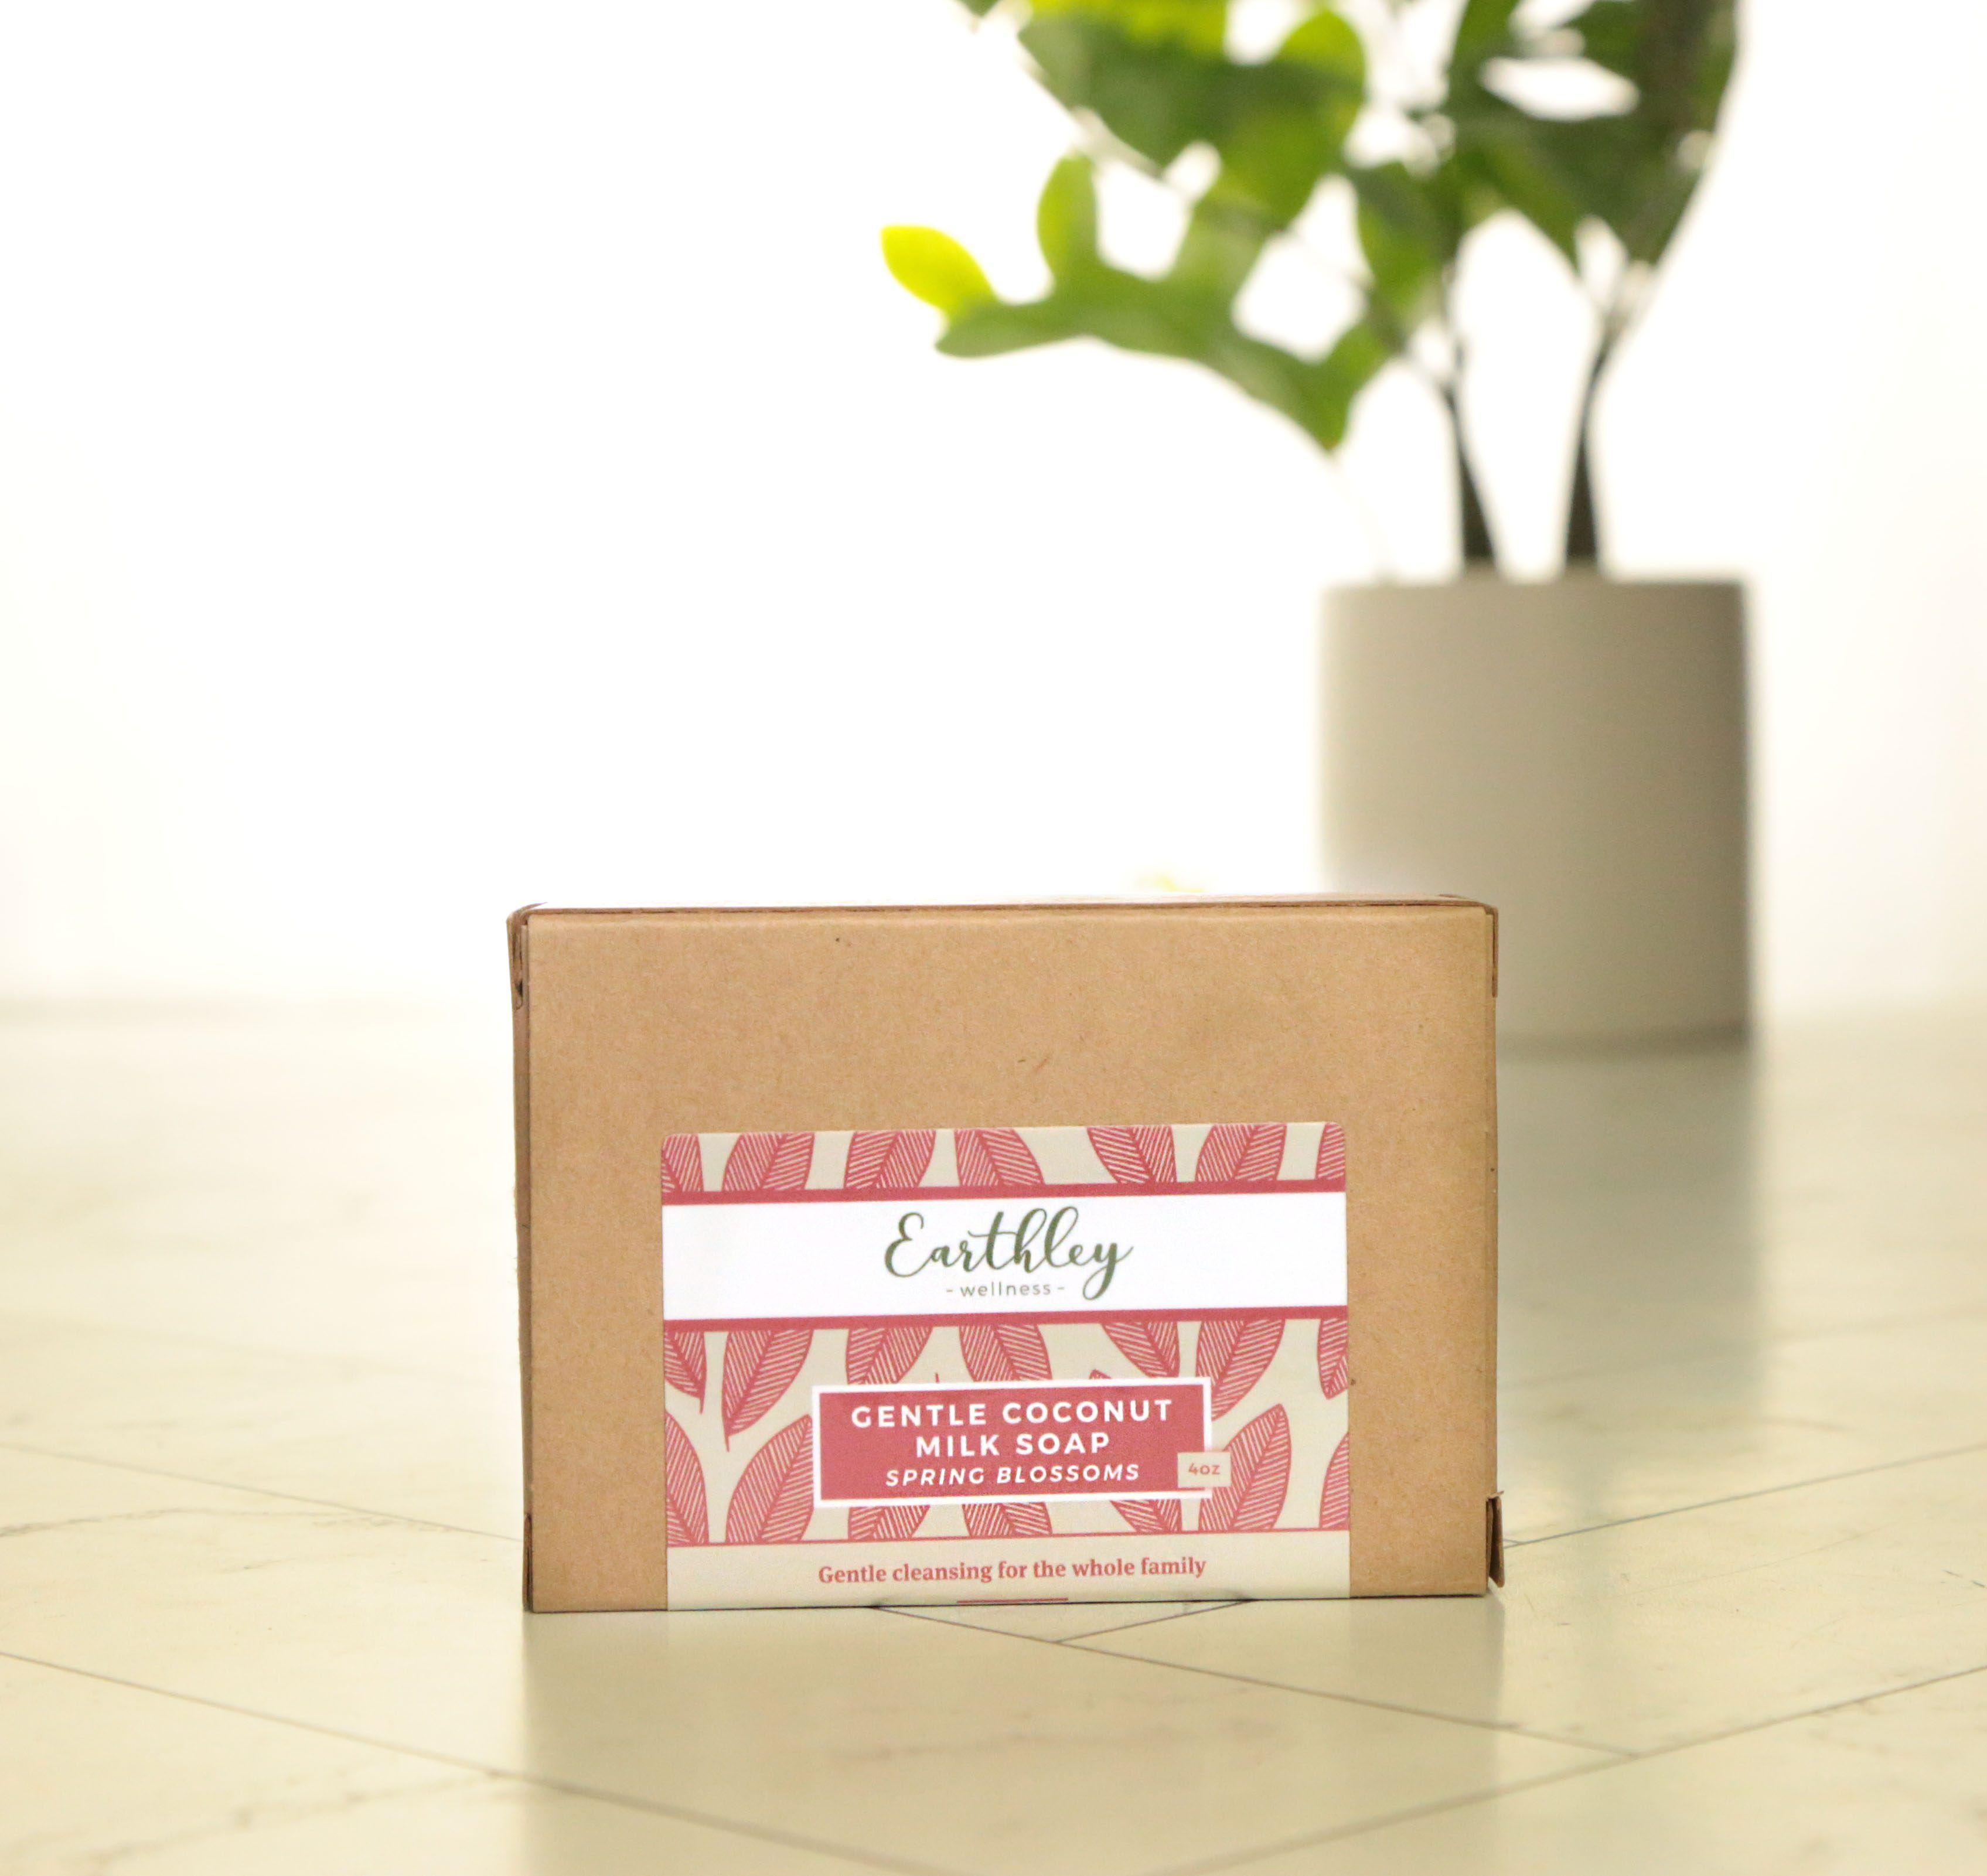
To gently cleanse skin
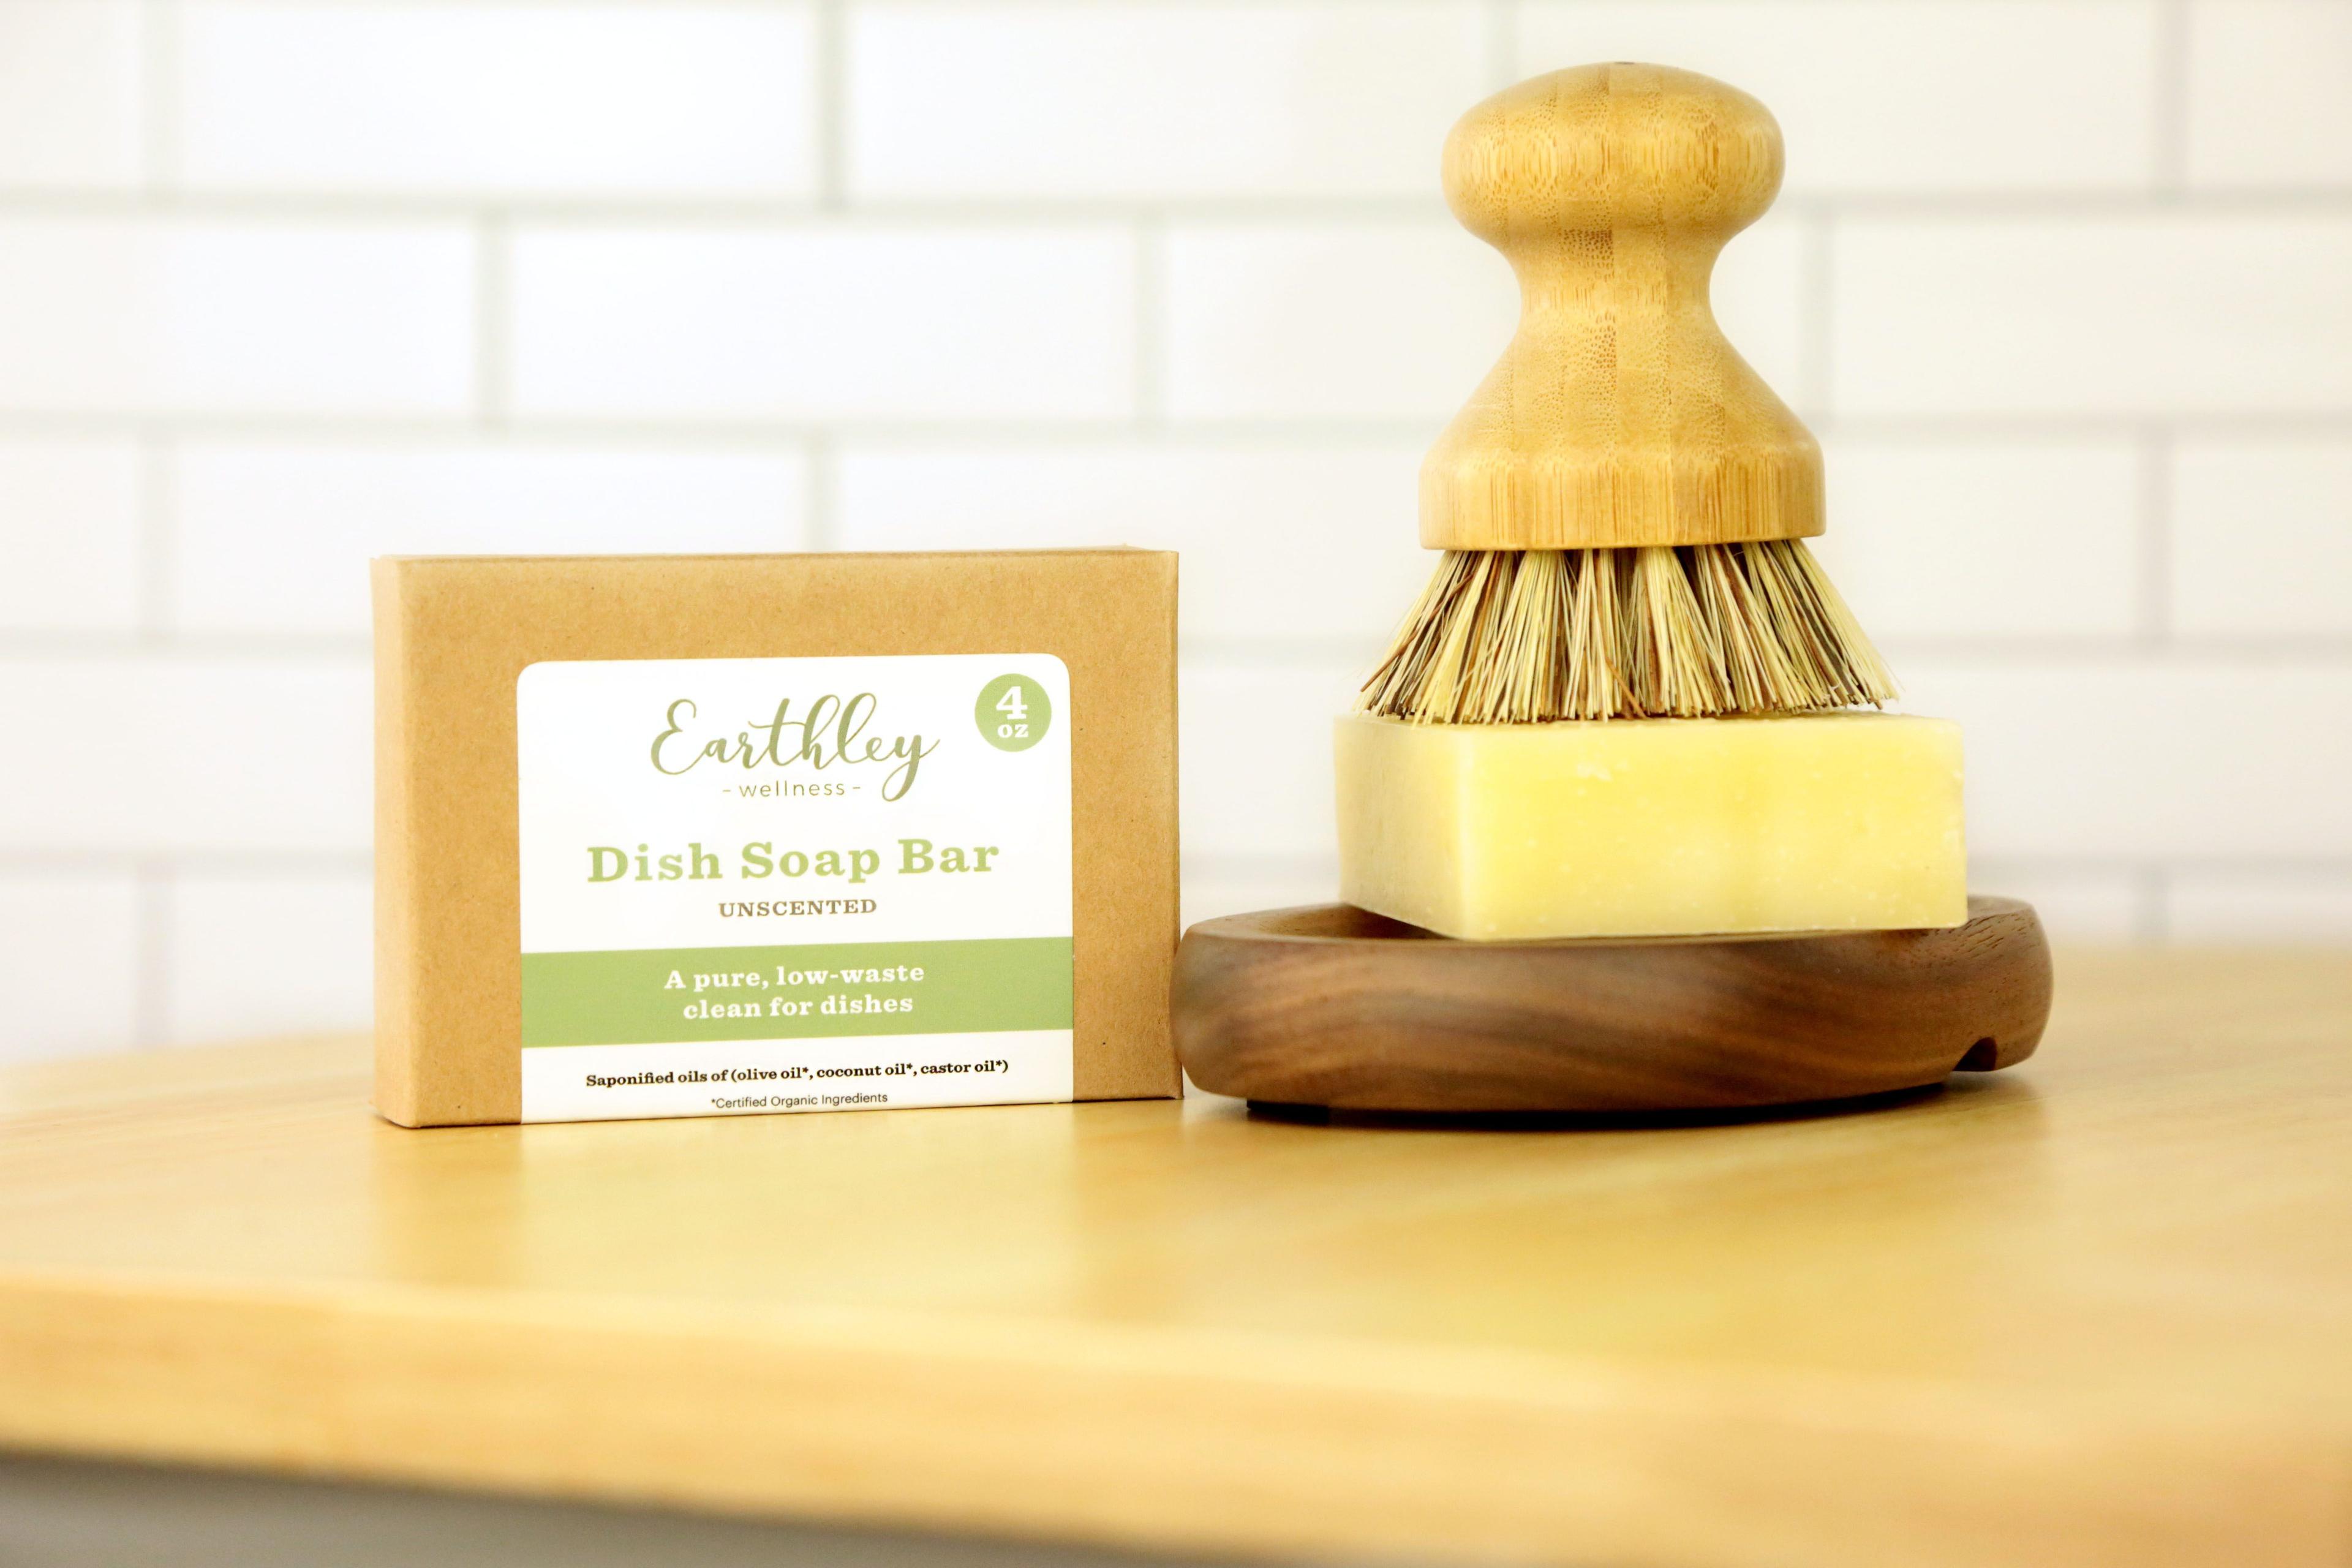
A pure, low-waste clean for dishes
For gentle cleansing and fun in the tub
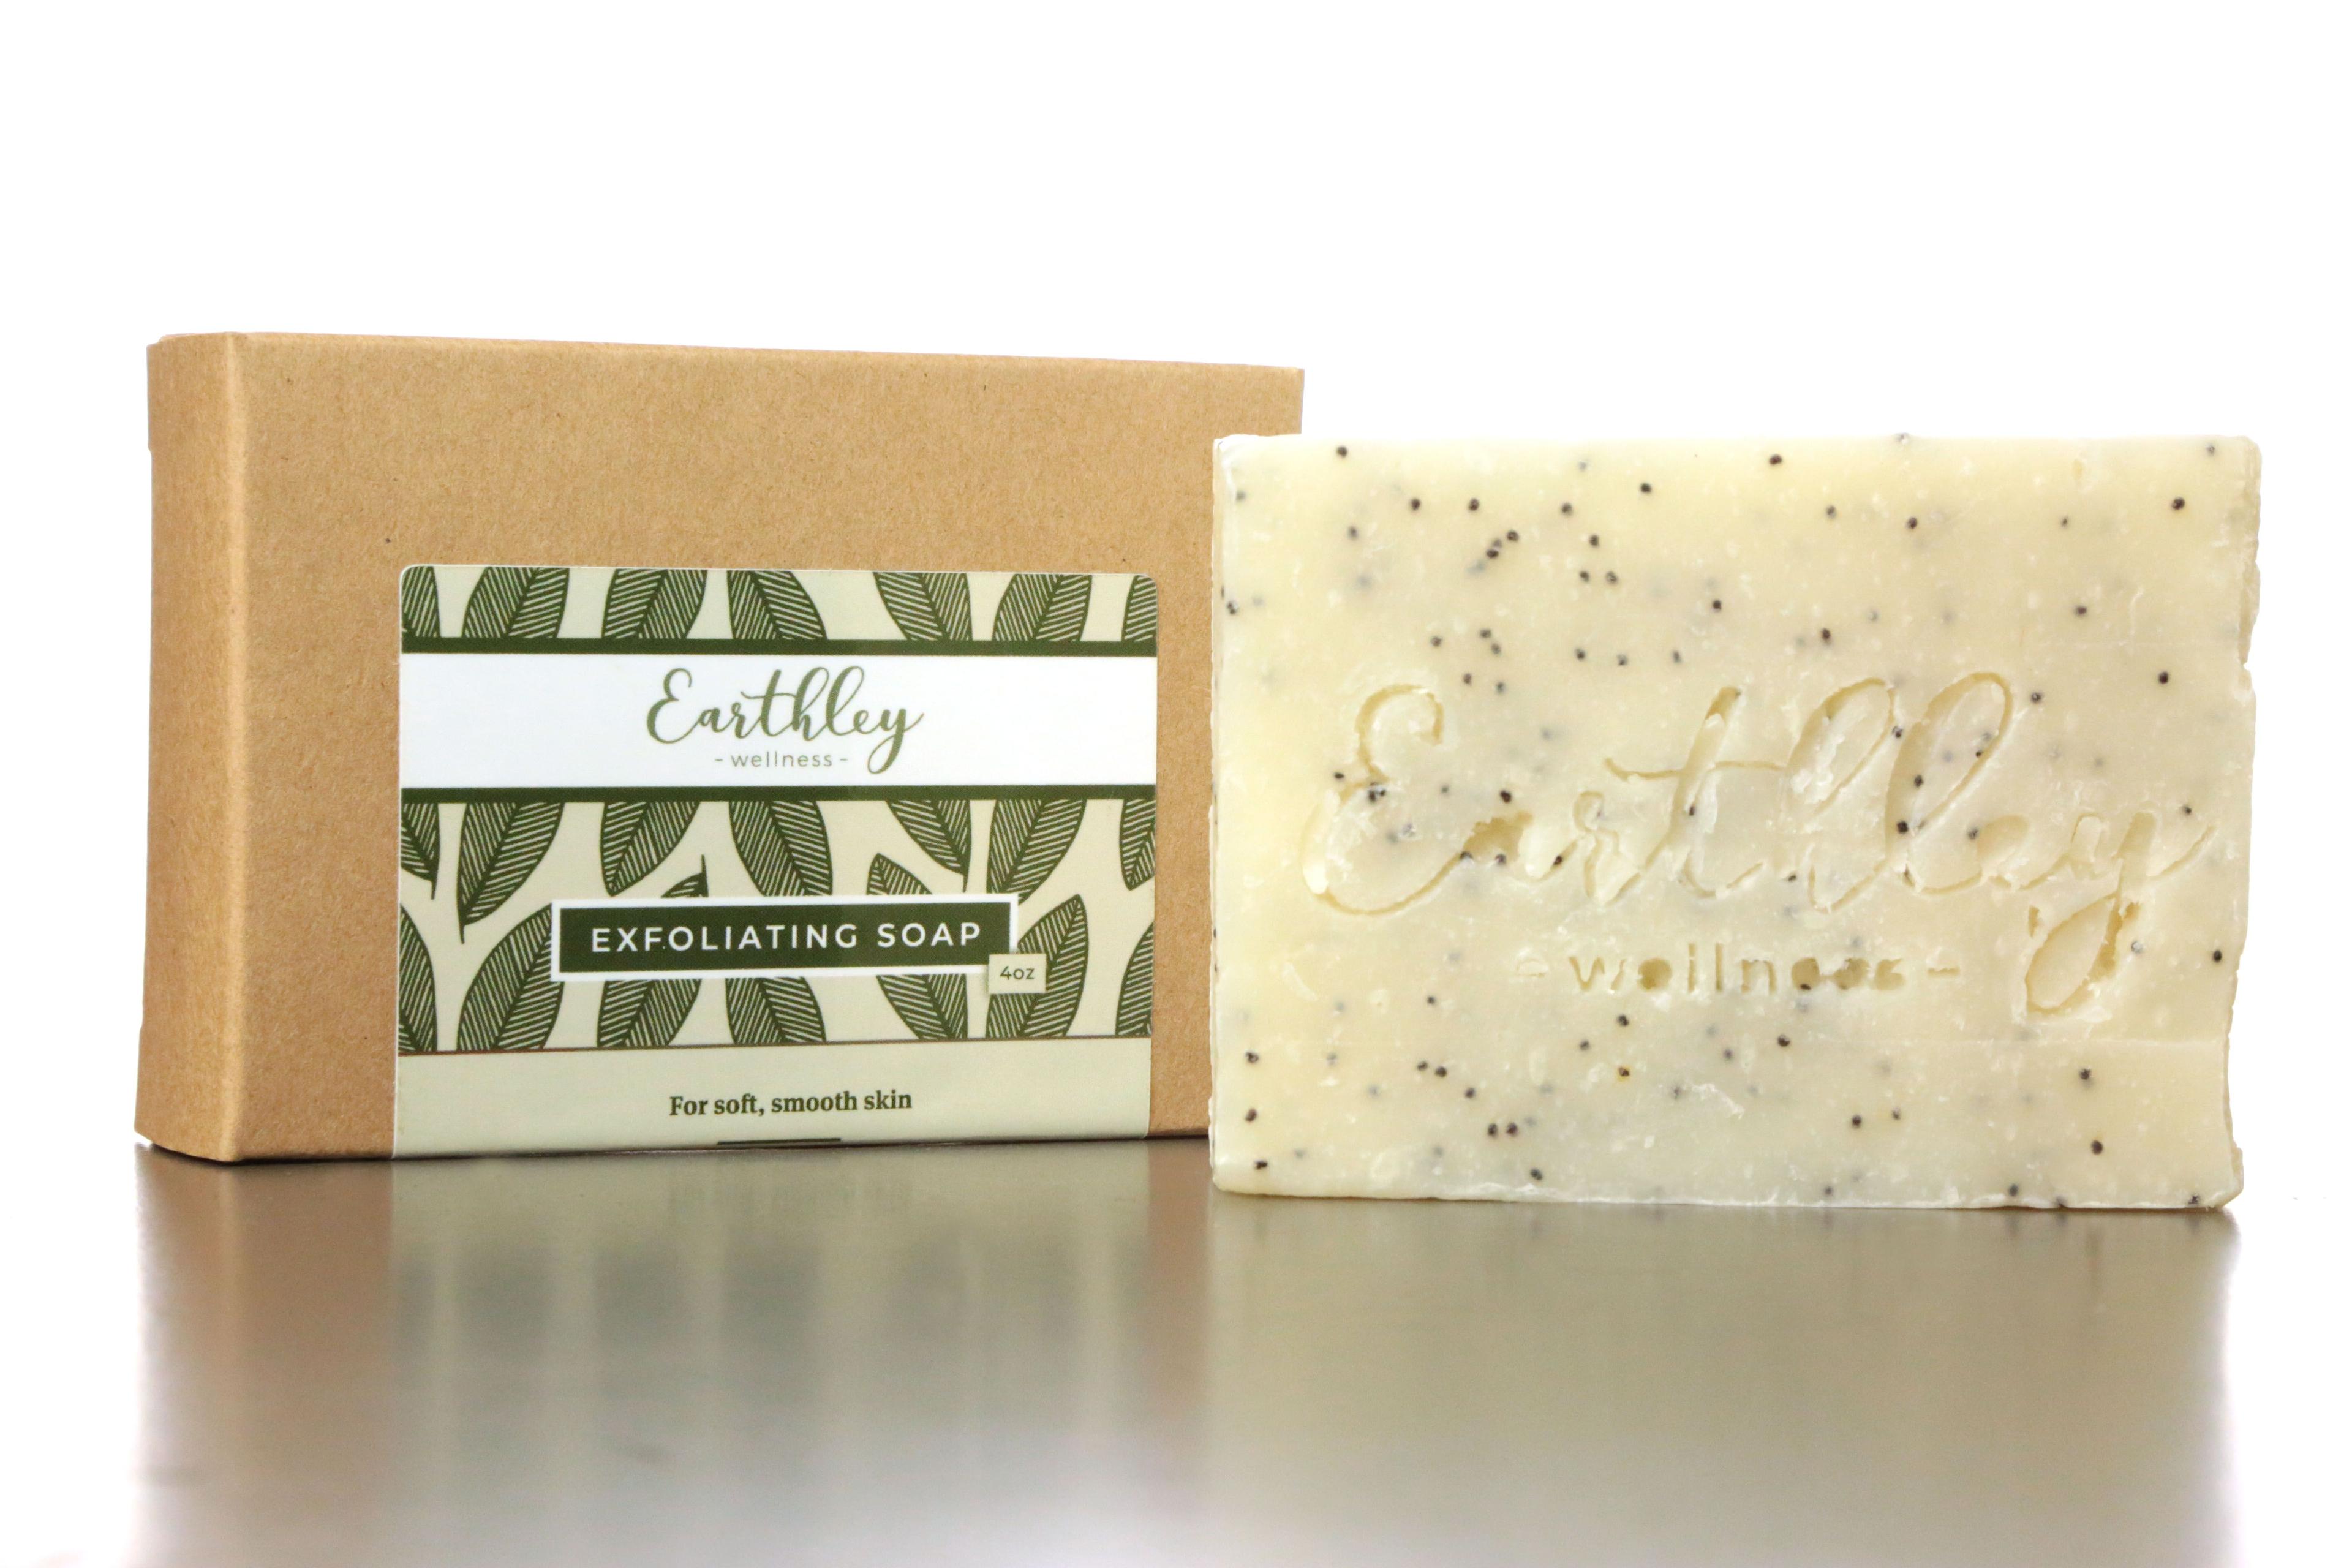
A natural cleanser with a mild exfoliant
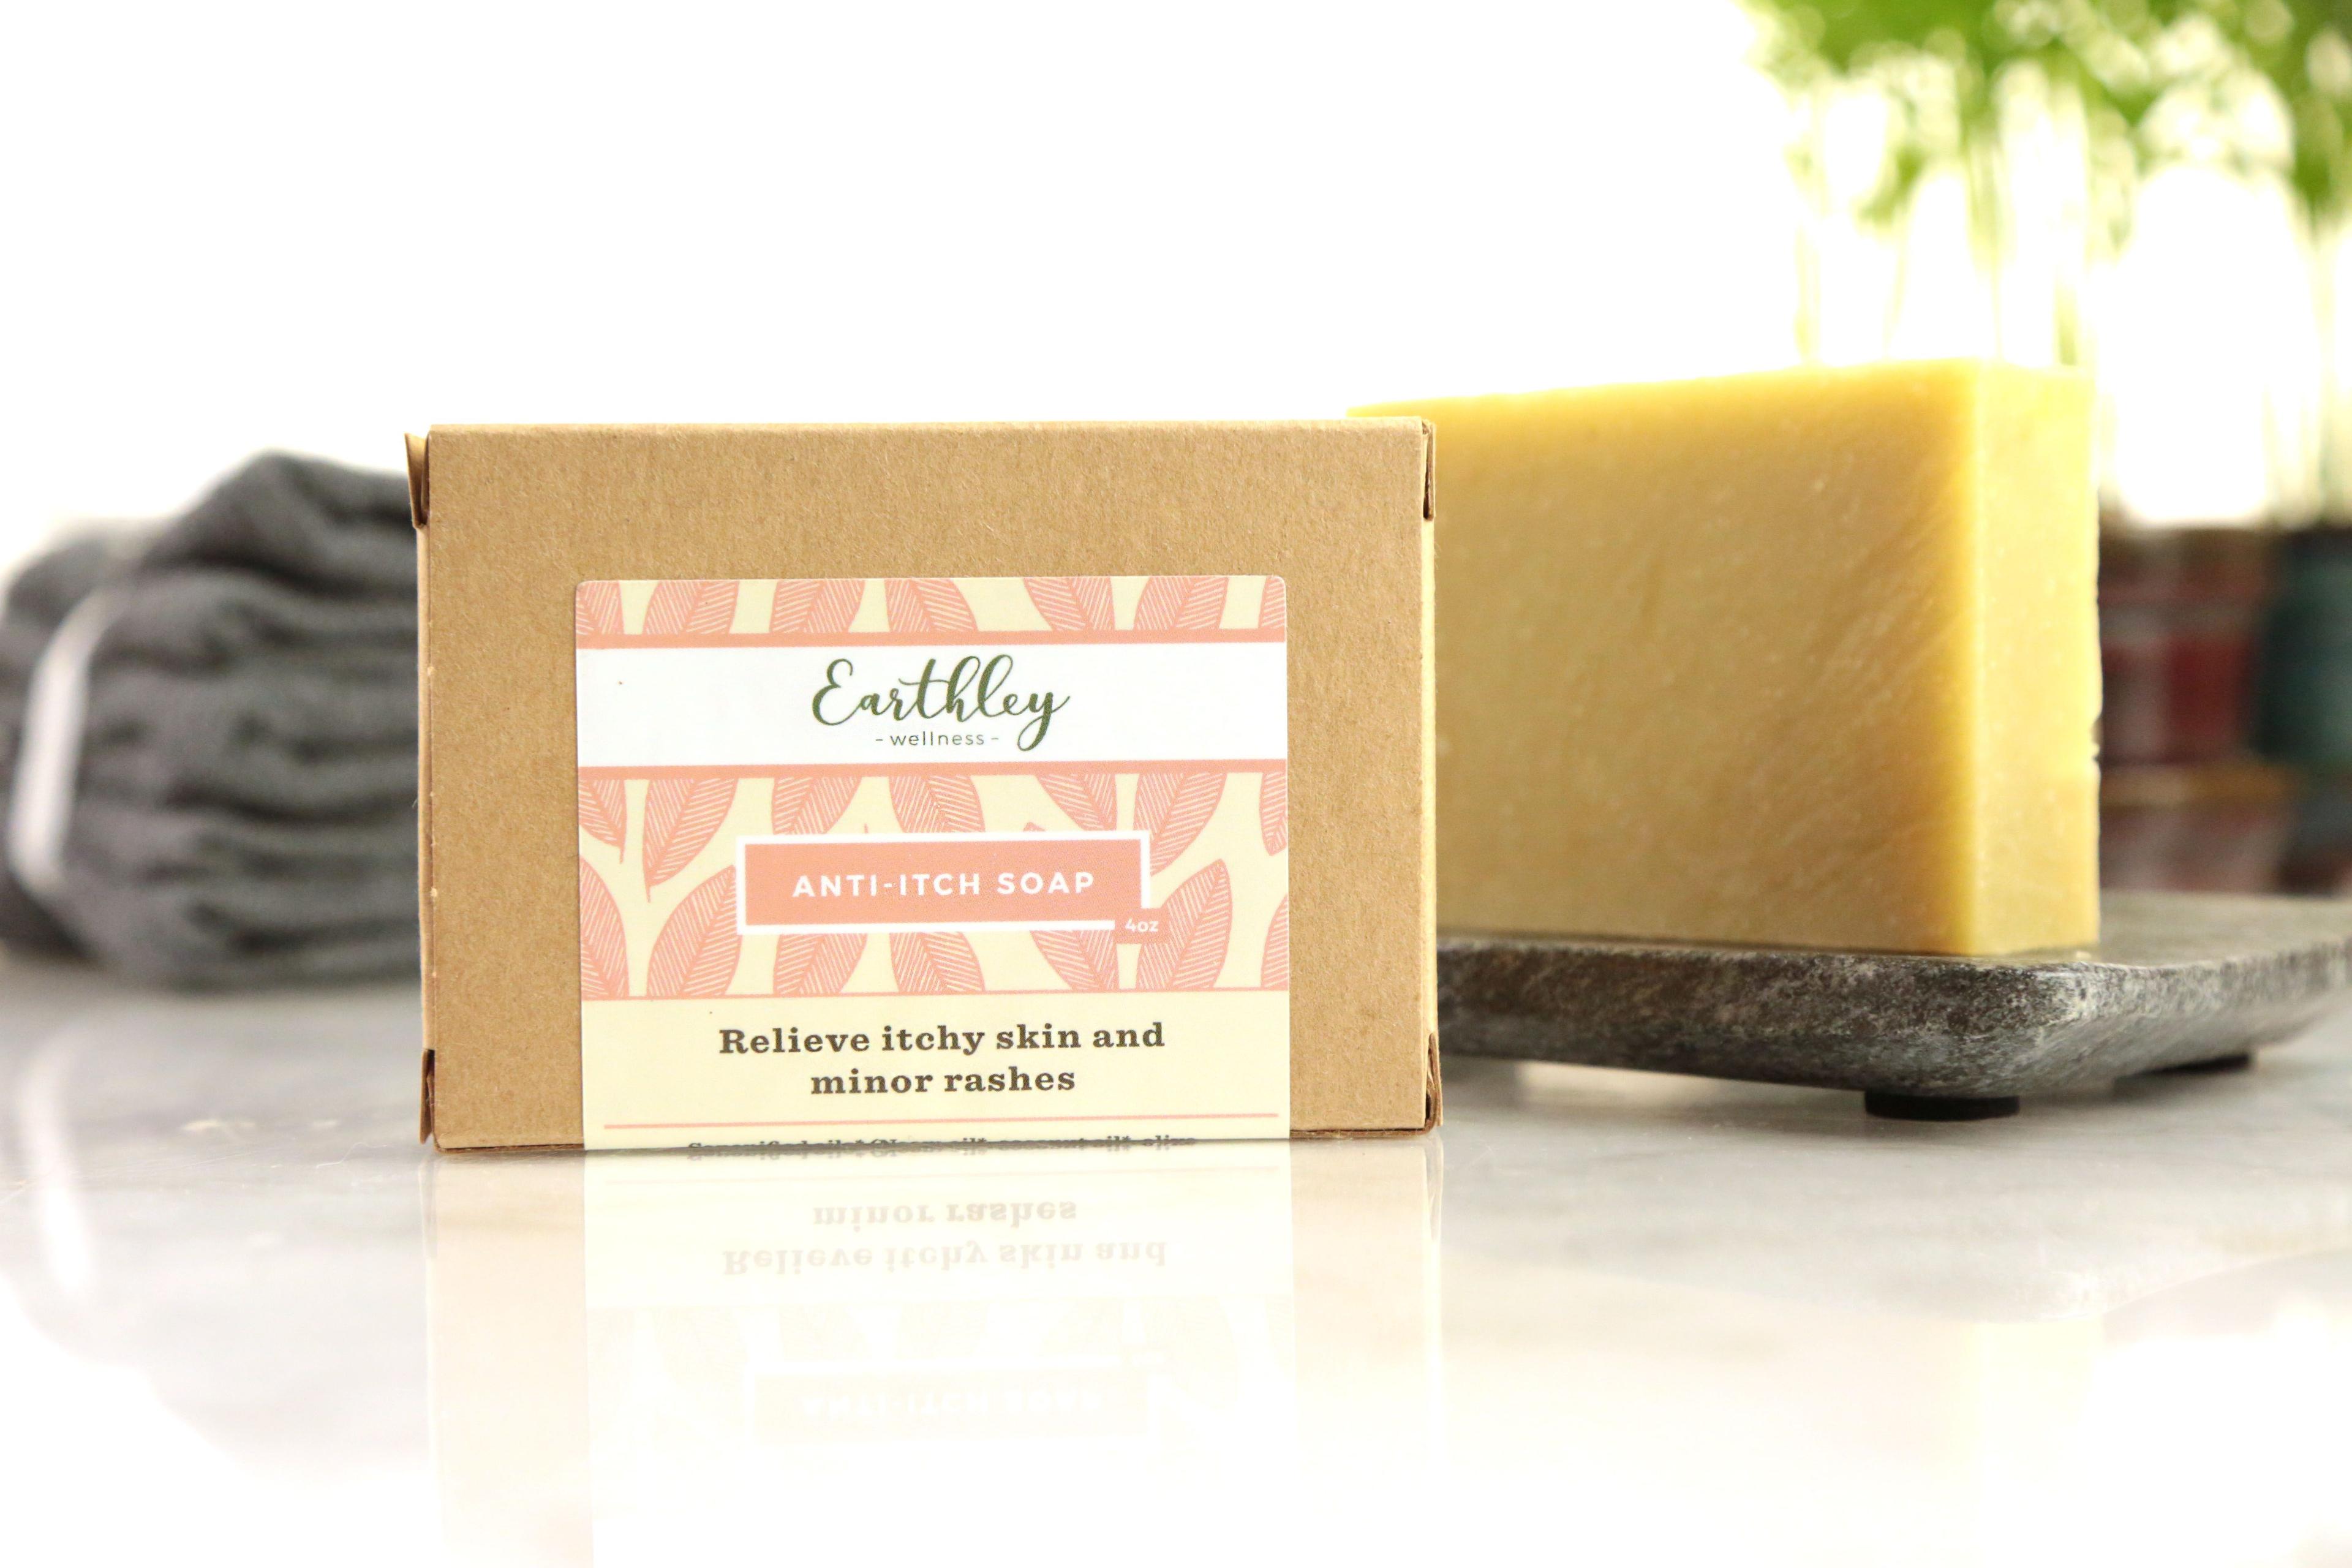
Relieves itchy skin and minor rashes
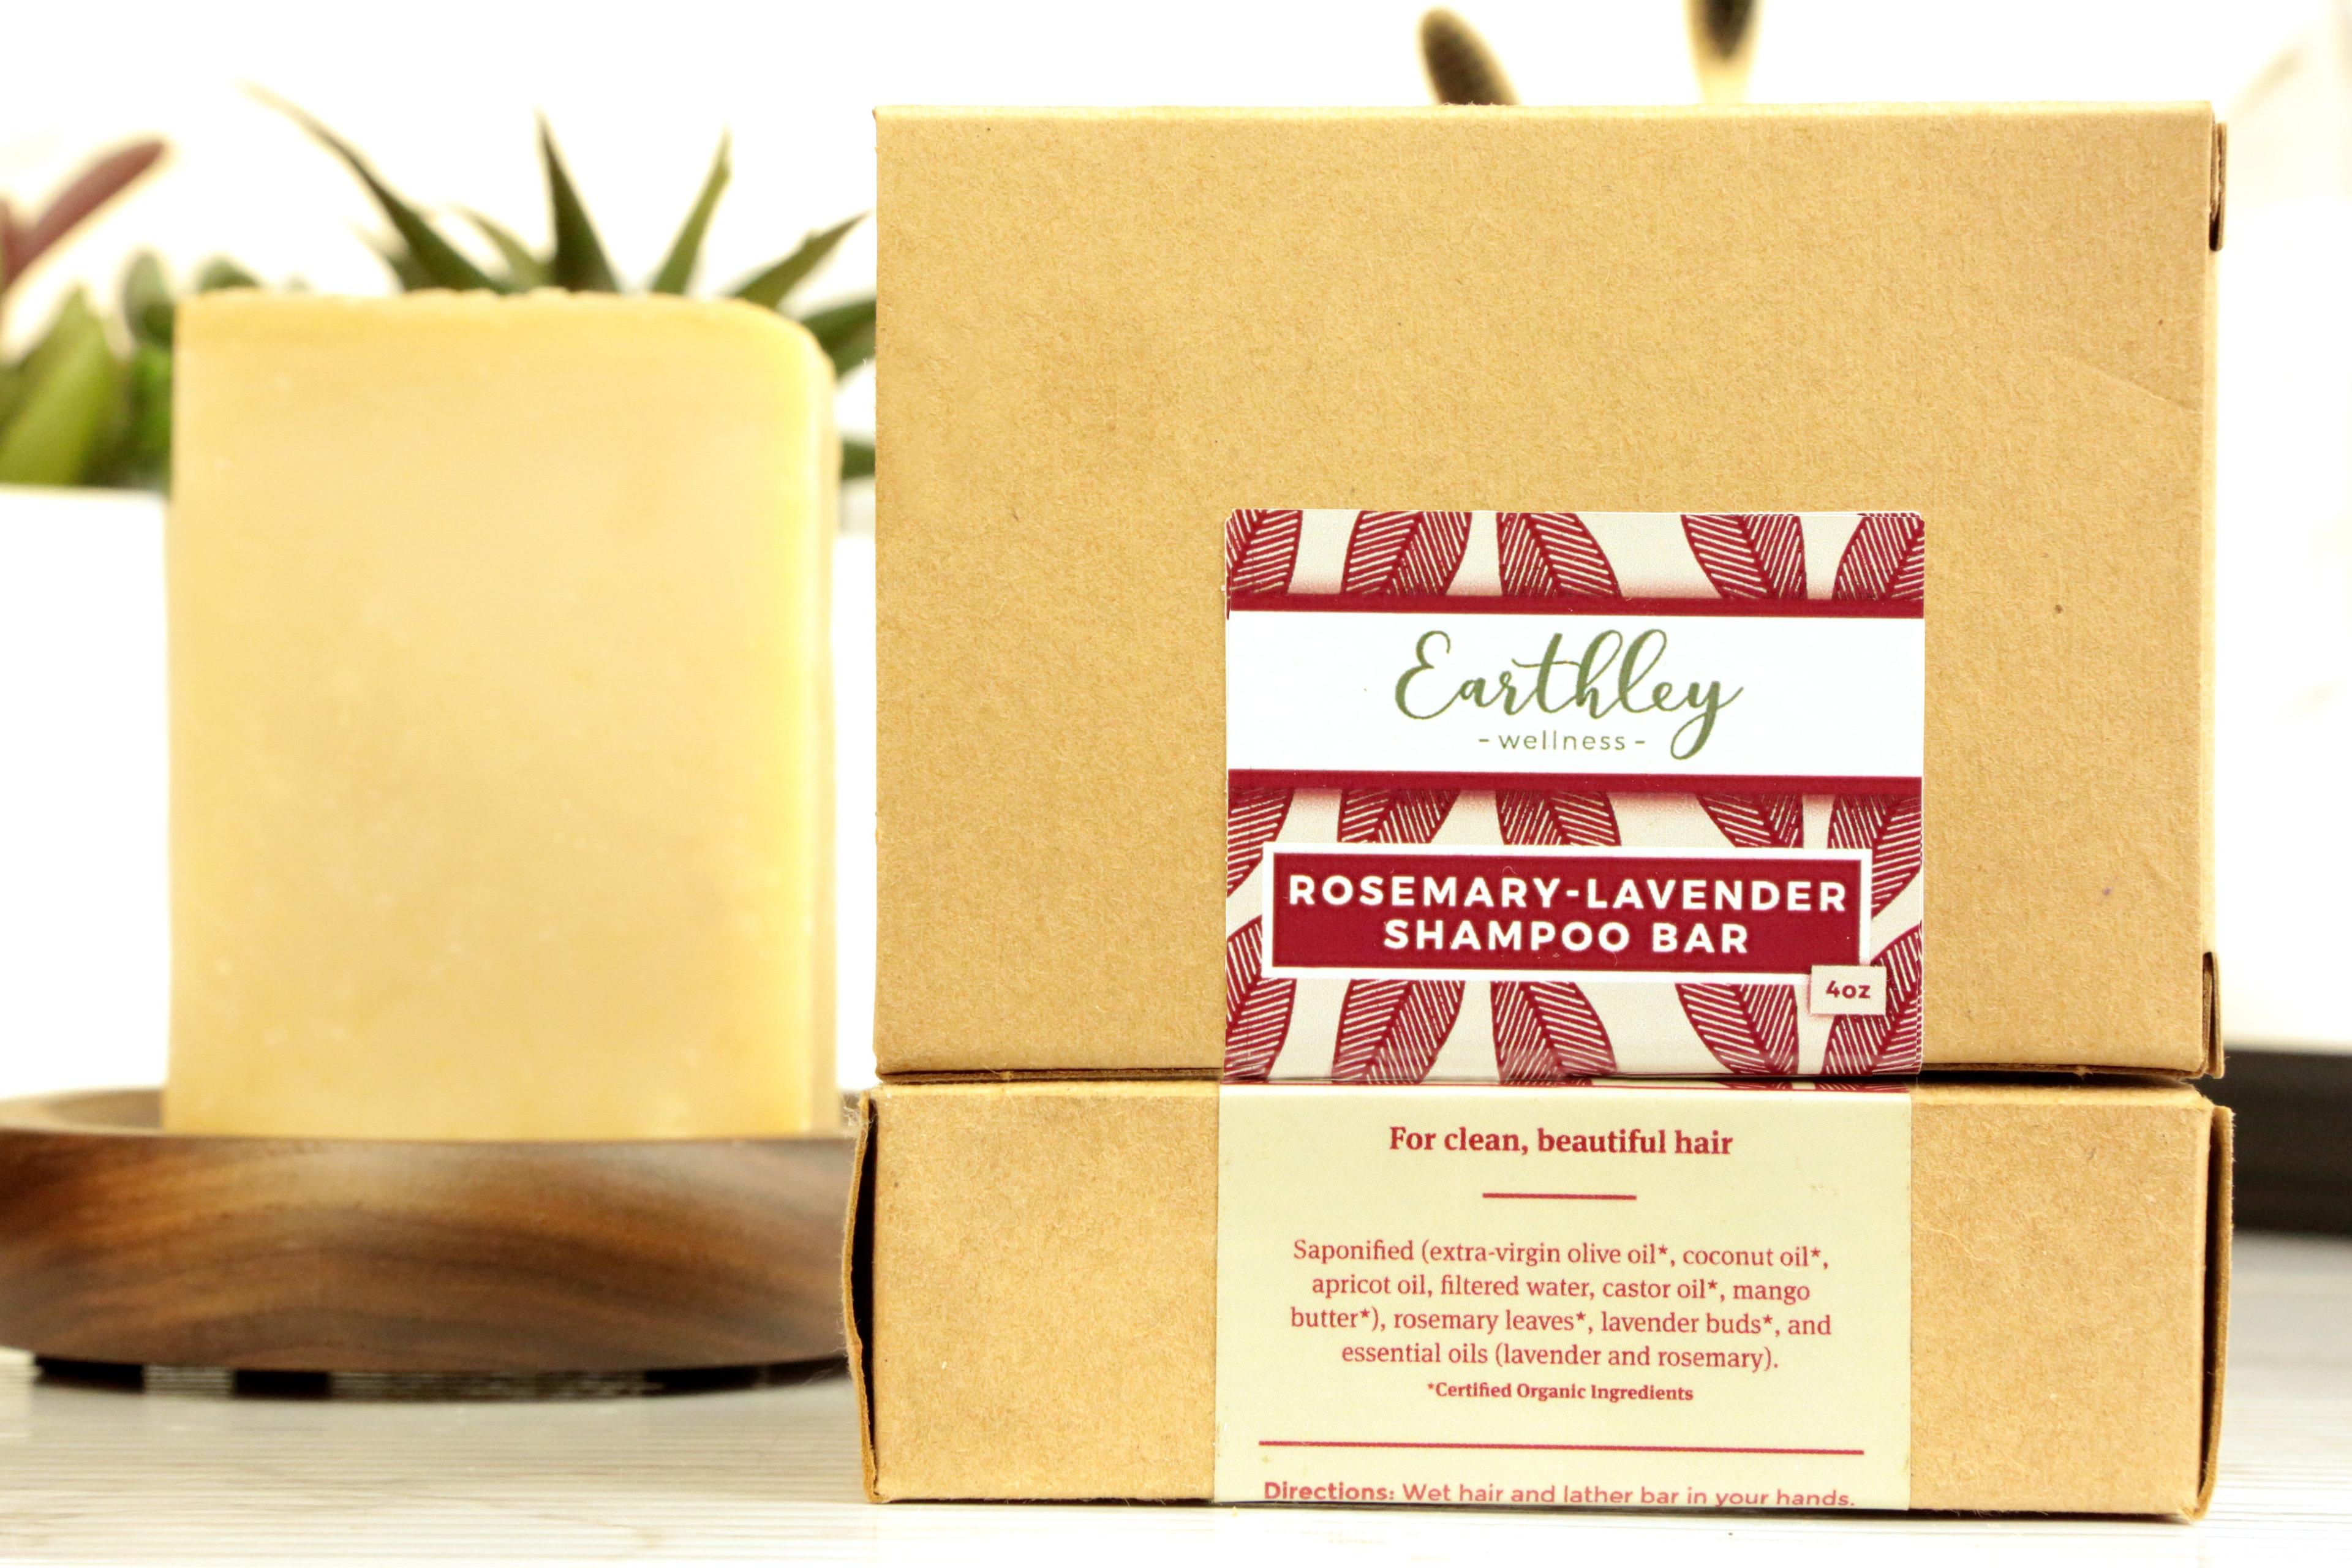
For Healthy Hair (No Sulfates)
Stay Connected
Get updates and exclusive offers straight to your inbox.