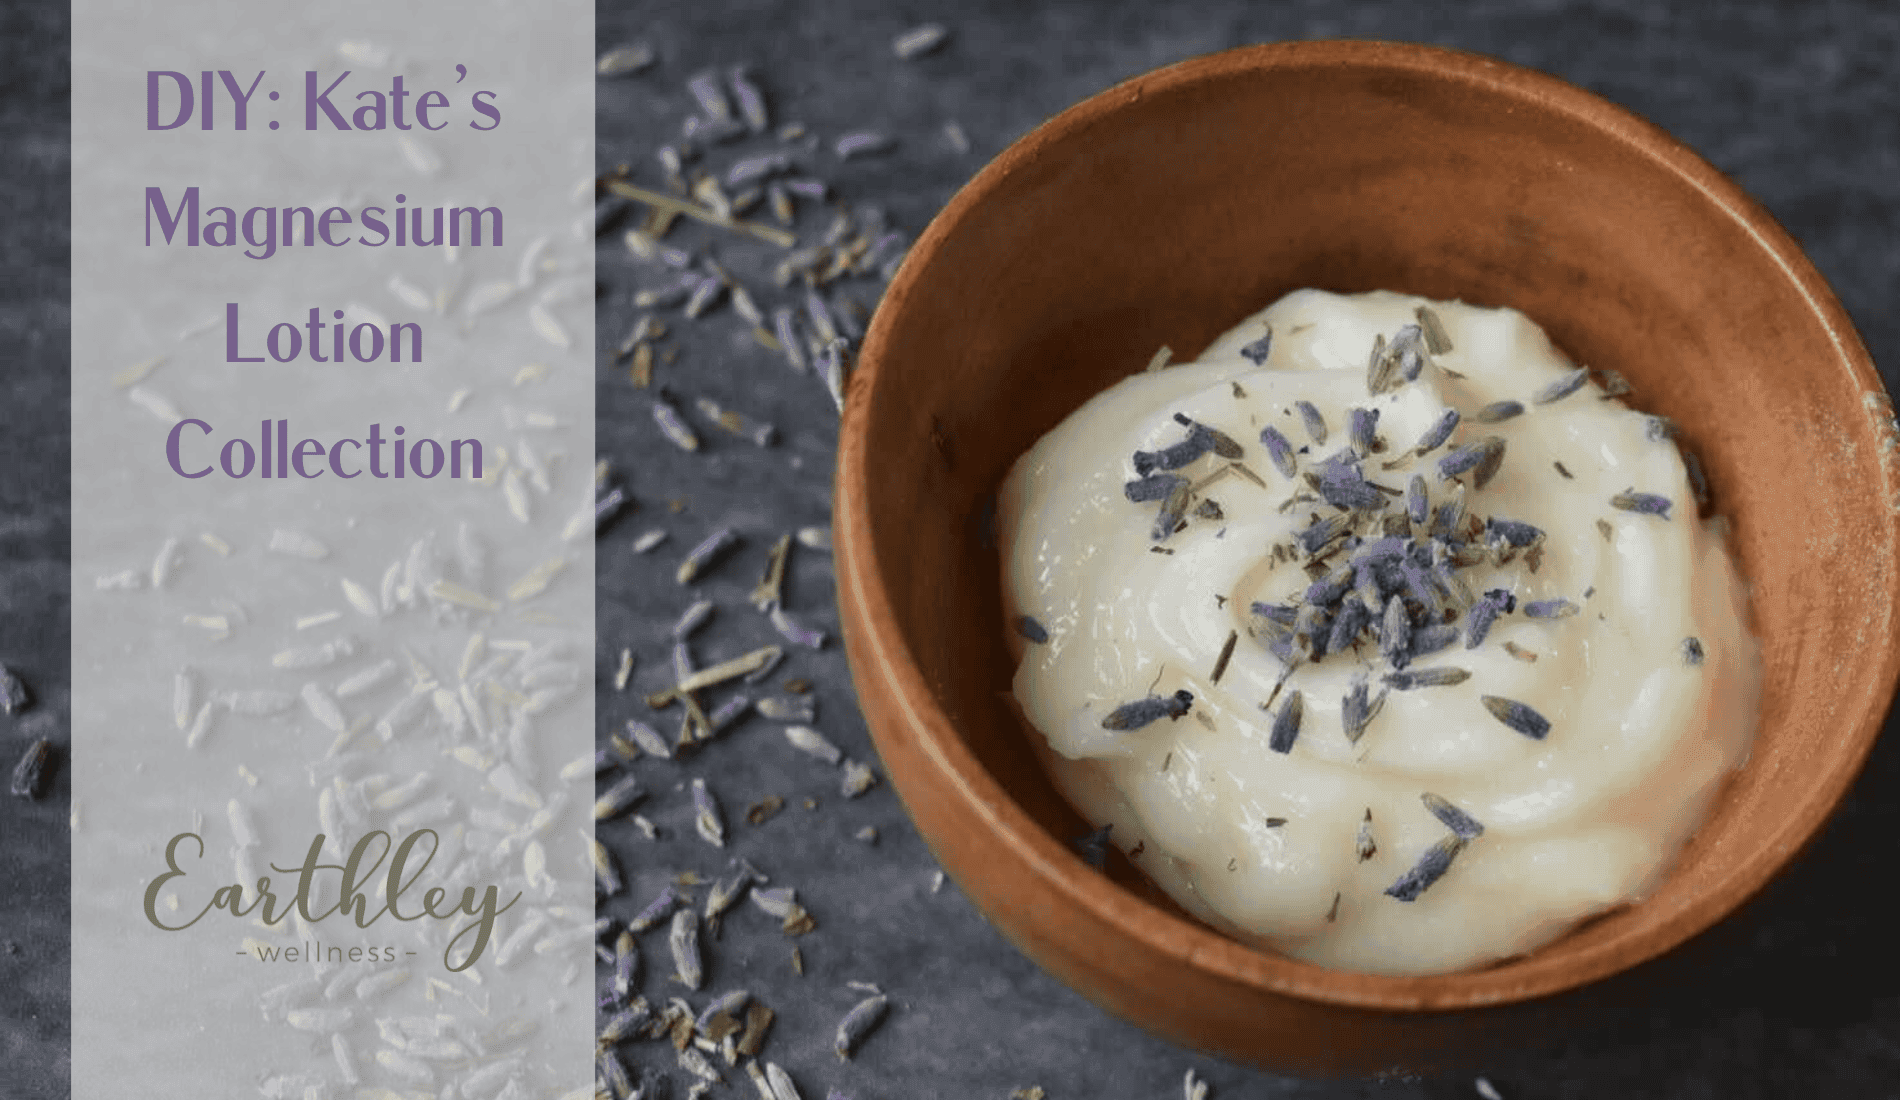
DIY: Kate's Magnesium Lotion Collection
Magnesium is so important to the body. If you struggle to fall asleep or experience twitchiness, it may be low magnesium levels. If you consume plenty of certain nutrients but still have signs of low levels, it may be low magnesium levels. Our body has over 300 cellular functions that require magnesium, so being low can affect a lot! We eat a wholesome real-food diet, but even with real food, the soil has less magnesium today than it did decades ago (source).
So, I set out to make my family a lotion that could provide more magnesium. This is it—I’ve finally perfected it—a series of ideal magnesium lotion recipes!
Kate's Magnesium Lotion Collection
Before we get started on the recipes:
You will notice that none of these lotions below have an “added preservative.” The magnesium acts as a preservative, so these should last several months on the counter.
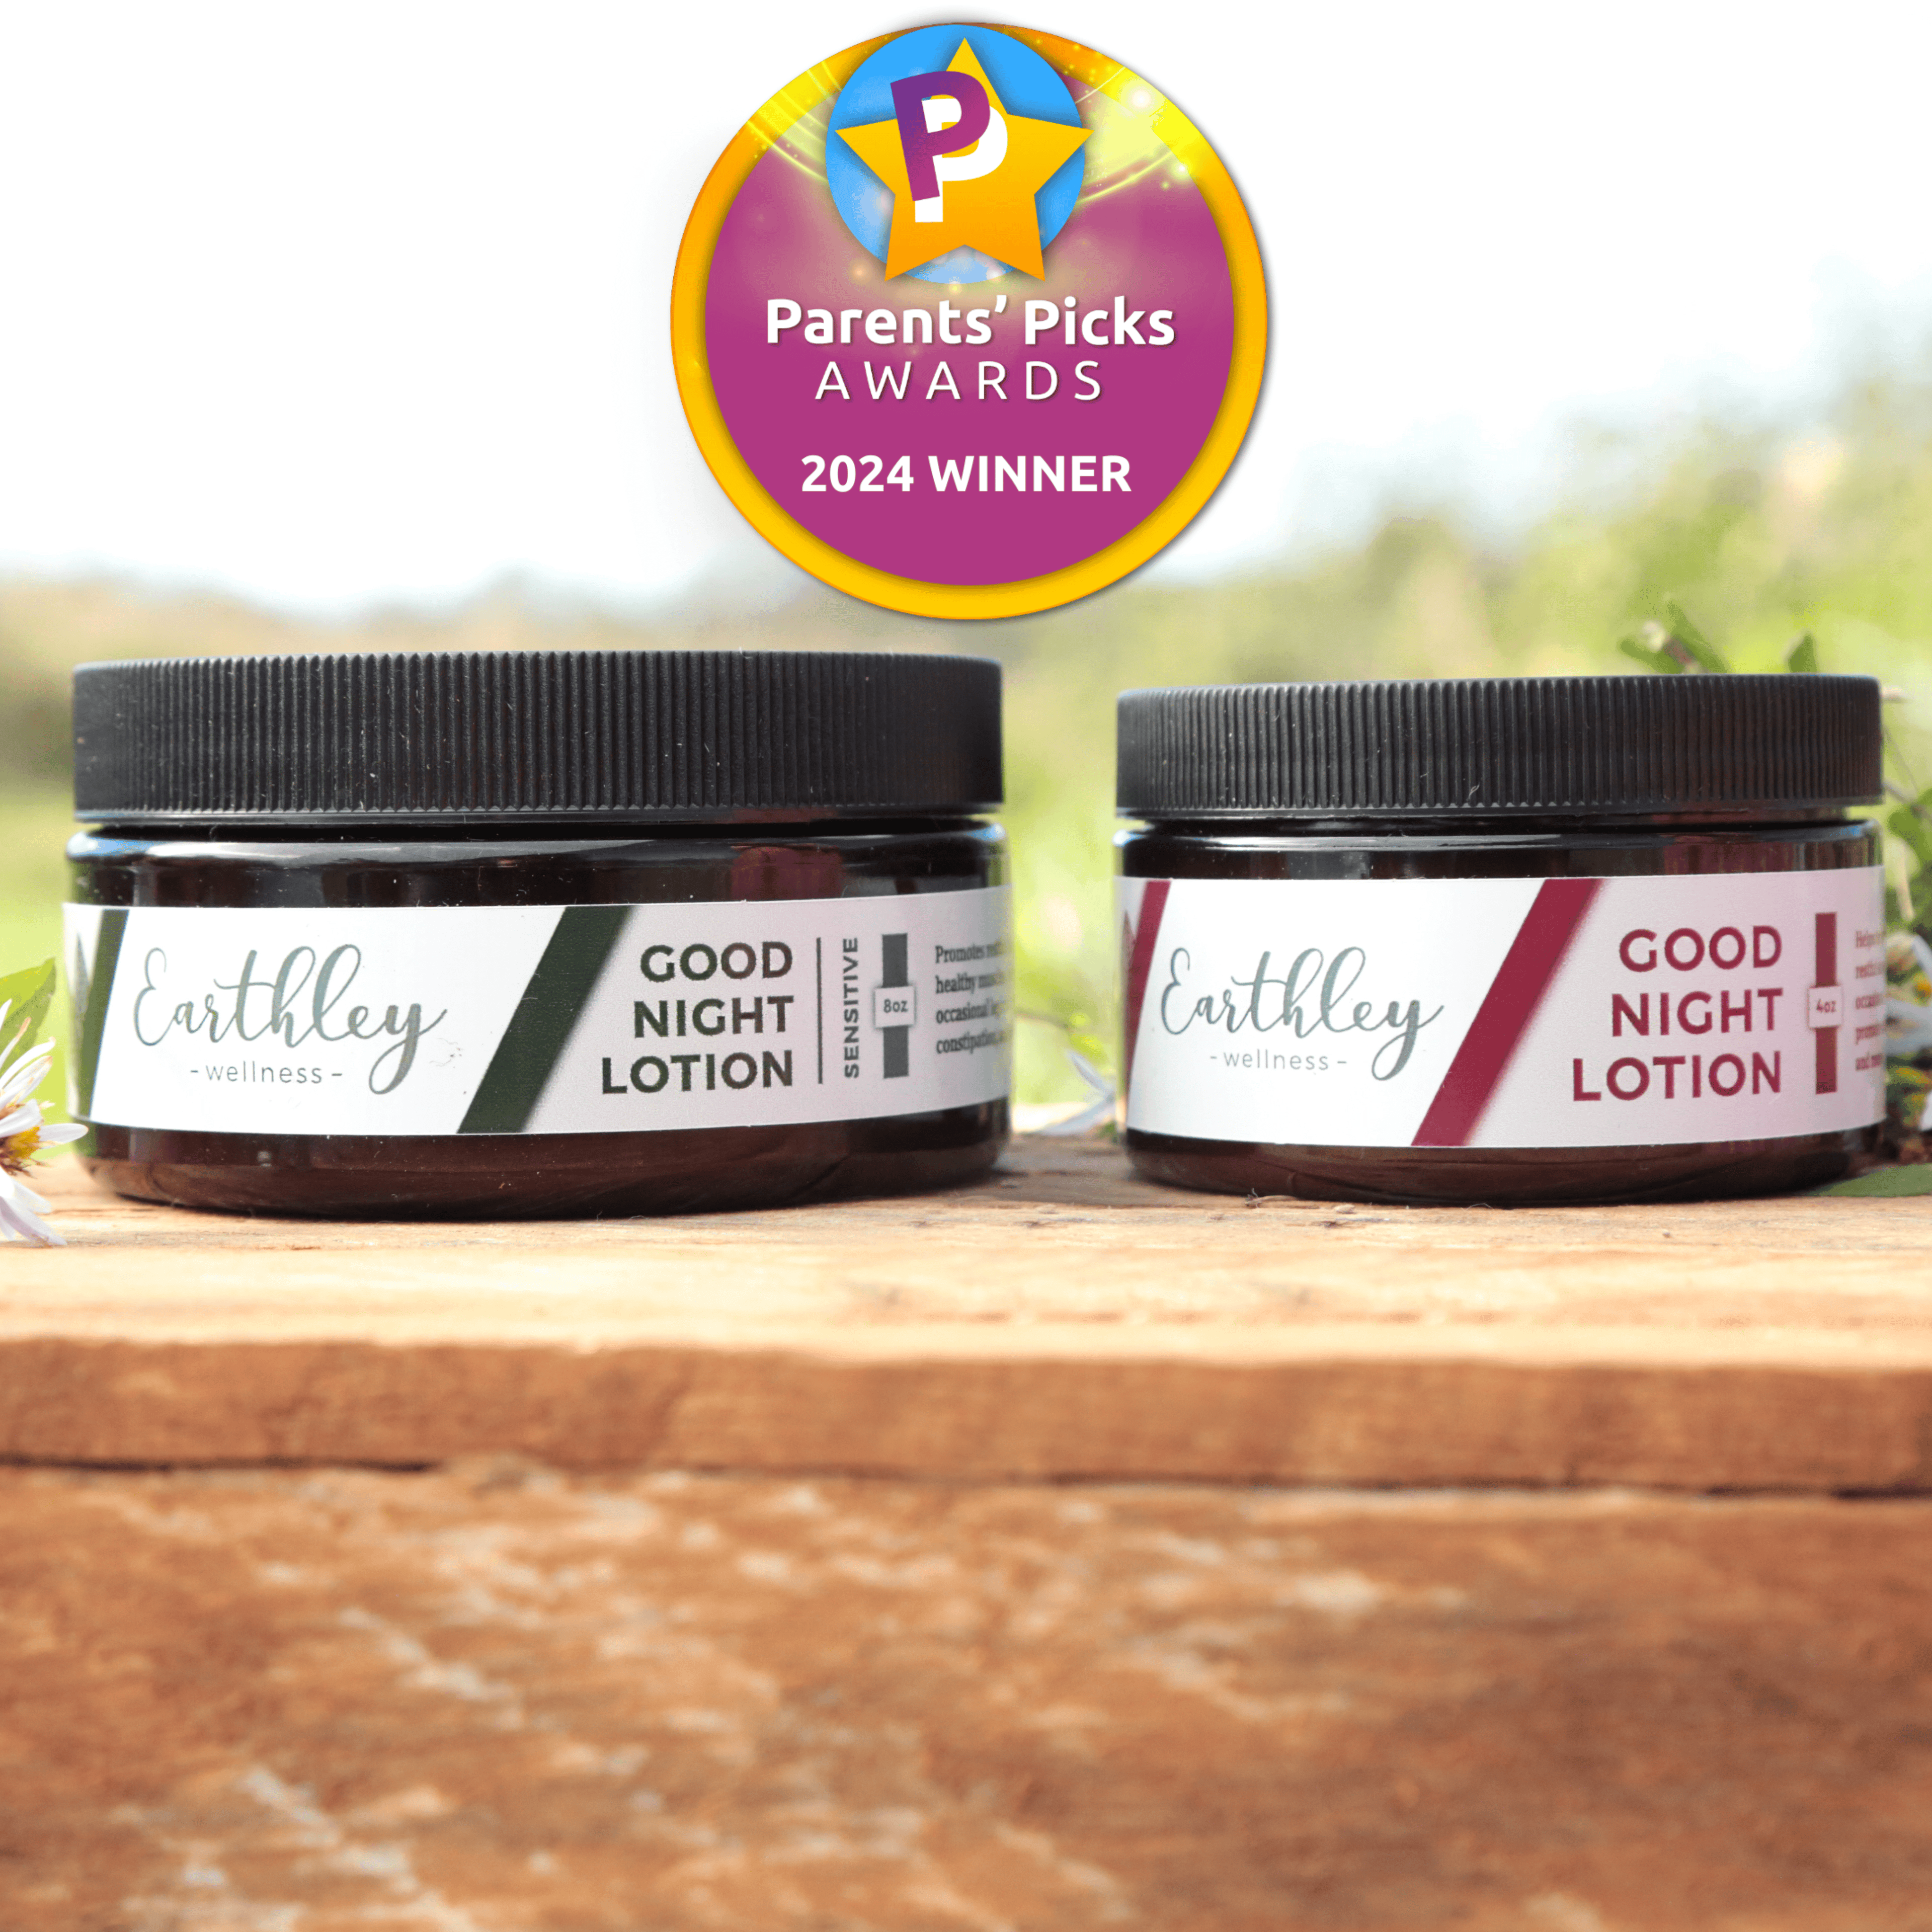
I do make one available for sale here at Earthley if you love the idea of magnesium lotion but aren’t ready to make it yourself. Check out Earthley’s Good Night Lotion! It comes in 2 scents: Original (with Lavender) and Blue Bliss (with Blue Tansy) and one unscented: Sensitive (with kokum butter instead of shea butter and no added essential oils). Lavender is known to promote rest and relaxation. Blue Tansy is known to promote relaxation and a generally clear complexion.
I will share all 4 recipes now, starting with the original magnesium lotion!
Kate's Original Magnesium Lotion
This is simple, requires only a few ingredients, and can be made in less than 15 minutes.
Ingredients:
- 1/2 cup double-strength magnesium oil
- 1/2 cup avocado oil
- 1/2 cup unrefined shea butter
- 2 tbsp. of beeswax
Directions:
- In a small glass jar, pour 1 oz. Very hot, filtered water. Add 2 ounces (1/4 cup) of magnesium chloride flakes and stir until dissolved. This is the perfect amount for this recipe, so increase it if you make a larger batch.
- Melt the avocado oil, shea butter, and beeswax in a small saucepan. (If you want to infuse any herbs, strain the avocado oil alone, then melt the infused oil with the shea butter and beeswax.)
- You could add some essential oils to the melted oil mix if you want, 10 – 12 drops. I didn’t bother.
- Pour the mix into a blender.
- Turn it on low and stream in the magnesium oil.
- Put the lid on and turn it up higher. It will turn into an opaque, cream-colored liquid. That is when the emulsification is complete, and you have your lotion!
- Pour the lotion into a glass jar. This makes around 12 – 13 ounces of lotion, so I used a 16-oz. glass mason jar.
To use: Allow your lotion to cool completely. It will solidify and become very thick and creamy, more like a “body butter” than a lotion. Use as with any normal lotion, spreading especially over thin-skinned areas. It absorbs quickly and doesn’t dry out the skin. It shouldn’t cause any stinging or tingling like plain oil can. I like to use this just before bed, putting it on my legs and belly. It is nice for pregnant bellies, too. 🙂
Kate's Notes: My original recipe was so wonderful when it was first made, creamy and beautiful, but over time it got rather thick and sticky. After using it for several months, I decided to try again.
Chocolate Rose Magnesium Lotion
Ingredients:
- 2 oz. of rose-infused apricot oil (instructions below)
- 1 oz. shea butter
- 1 oz. cocoa butter
- 1.5 oz. coconut oil
- 1 tbsp. of beeswax
- 2 oz. magnesium oil
Directions:
- Place 4 – 6 ounces of apricot oil in a small glass jar. Add about 1/4 cup of dried rose petals. Place this jar in a pot of hot water and allow it to sit for several hours. (I do this on my stove with the burner on low to medium. Once bubbles begin to form in the water, I turn it off.)
- Strain the oil through a piece of cloth into a clean jar. Use 2 ounces for this recipe; keep the rest for another use. Or just make a bigger batch!
- In another small glass jar, pour 1 oz. Very hot, filtered water. Add 2 ounces (1/4 cup) of magnesium chloride flakes and stir until dissolved. This is the perfect amount for this recipe, so increase it if you make a larger batch. If you don’t want this lotion to contain magnesium, skip this step and use 2 ounces of pure filtered water in the final recipe.
- In an 8-ounce or larger glass jar (tall one, not like the type you’ll use to store it), place all of the oils and the beeswax — but not the magnesium oil (which is not technically an oil, but a salt solution). Place this jar into a pan of water that comes up about 3/4 of the way on the jar. Turn it to medium heat.
- Stir the oils occasionally until it is completely melted. Remove the jar from the water — use a potholder; it’s hot! — and pour the oils into a small mixing bowl.
- Allow this mixture to cool until close to room temperature. Then, using a mixer or immersion blender, begin to blend the oils together. Slowly pour in the magnesium oil while you do this. It will become thick and opaque.
- Once thoroughly mixed, pour the lotion into an 8-ounce glass storage jar. Put a lid on it and allow it to cool completely.
Kate's Notes: What resulted was an absolutely perfect lotion from this recipe. Smooth, creamy, and rich without being heavy. Plus, it smells divinely of chocolate, with just a hint of coconut and rose. I really only bothered infusing it with rose the first time; after that, I just made it with plain oils. I really liked the initial texture of that one…but the coconut oil tended to get hard (since it does solidify at a lower temperature than the other oils) and end up as little beads throughout the lotion.
Lavender Scented Magnesium Lotion
Ingredients:
- 1 tbsp. shea butter
- 2 tbsp. coconut oil
- 2 tbsp. avocado oil (or other liquid oil — olive, apricot, jojoba, etc.)
- 2 tbsp. double-strength magnesium oil (mix 1 tbsp. warm water with 2 tbsp. magnesium chloride flakes)
- 1 tbsp. beeswax
- 15 drops of lavender essential oil
Directions:
- Melt the shea butter, coconut oil, and beeswax in a saucepan over low heat.
- Add the avocado oil and magnesium oil.
- Add the essential oil.
- Use an immersion blender to blend it all together until thick and opaque (or pour it into a standard blender and mix it up).
- Scoop/scrape it into a 4-ounce jar or tin.
To use: Allow it to cool completely before using it. Spread a small amount on thin-skinned areas, like the back of legs or bellies, before bed. Promotes restful sleep all night long! The kids fell asleep faster on our first night using it, and all slept for nearly 11 hours before waking. Not bad!
Kate's Notes: That’s still my favorite to use on the kids, but it’s a little creamier than I prefer for myself. It’s one of the most popular recipes I’ve ever posted. The goal was to help the kids feel peaceful so they could fall asleep faster and easier and get a good night’s sleep once they were out. The magnesium would promote a solid night of sleep. I chose lavender for the “fall asleep faster and easier” part. This is much safer than the store-bought magnesium lotions – which made my poor daughter’s skin turn bright red almost instantly as a baby! That is one of the reasons we began to explore more natural options and create Earthley in the first place.
Herb-Infused Magnesium Lotion
We start with a couple of butters, add some awesome liquid oil, melt in some beeswax, blend it all with magnesium “oil,” and end up with magnesium lotion. Simple, right?
It is.
If you’re not planning to do the herbal-infused part, go ahead and skip all of the herbs that are listed here. Skip the first few steps in the directions, too.
Ingredients:
- 3 tbsp. magnesium flakes
- 1.5 tbsp. filtered water
- 1/4 cup + 2 tbsp. apricot oil (or olive, or sweet almond, etc.)
- 1 tbsp. lavender buds
- 1 tbsp. dandelion flowers dried
- 1 tbsp. calendula flowers
- 1 tbsp. chamomile flowers
- 3 tbsp. shea butter
- 2 tbsp. mango butter (or cocoa butter)
- 1 tbsp. beeswax
Directions:
- In a glass jar of at least 4 ounces, add all of the herbs (lavender, dandelion, calendula, and chamomile) and pour the apricot or olive oil over it. Put a lid on and shake to combine. Now, you can just set it in a cool, dark cabinet and forget it for about 6 weeks or until you remember it’s there. Or, you can set the jar in a pan of hot water that comes up some of the sides but not to the top and leave this on low heat for an hour (keeping watch of the water level). You do this if you want it done now rather than weeks from now. You can do both to have your oil ready for today’s batch, and then you will have the cold infusion for the next batch you make!
- Strain the oil through cheesecloth, squeezing it to get all the oil out (which you keep in another glass jar). Discard the herbs. If you have infused the quick way, you’ll want to let this cool for 15 – 20 minutes before straining so you don’t burn yourself.
- *This is where you hop in if you’re not infusing the herbs!* Put the butters and beeswax into a glass bowl and set the bowl on top of a pot of water. Turn the pot on medium heat, and let the steaming water melt the oils and wax slowly.
- In yet another glass jar, combine the magnesium chloride flakes and water. Put a lid on and shake until dissolved.
- Pour the herb-infused oil with the now-melted butter and wax. Add the magnesium oil, too.
- Use a hand blender to mix it all up! If you don’t have one, pour it into a regular blender. You can also try a whisk, but that will take forever (I’ve tried), and it may still separate. A hand mixer will work, too. Anything that whips it well.
- Pour the finished magnesium lotion into an 8-ounce glass jar —or any subset of jars or tins that make a total of 8 oz.- in case you want multiple containers. That’s it! It’s a lot of little pieces, but it comes together quickly at the end!
Kate's Notes: My goal here was a lighter, smoother magnesium lotion recipe that went on well and stayed smooth (no lumps). That meant no coconut oil. I came up with an oil blend that I love…it’s perfect! I made it a couple of times with just the oils. Then, I had some of my infused oils sitting around in the cabinet (I automatically start a new batch every time I use the old one so there are alsways some around). I decided to add those instead of plain oils. Even better! It’s just so nourishing for skin, it’s awesome and it’s so easy.
Some of our top recommendations:
For healthy sleep, muscle soreness, and gut health
To promote a healthy lymphatic system.
For natural vitamin D
To support liver and lymphatic health
To Nourish and Protect Dry Skin
For daily stress and immune support
Promotes energy, gut health, and immunity with the nourishing power of plants
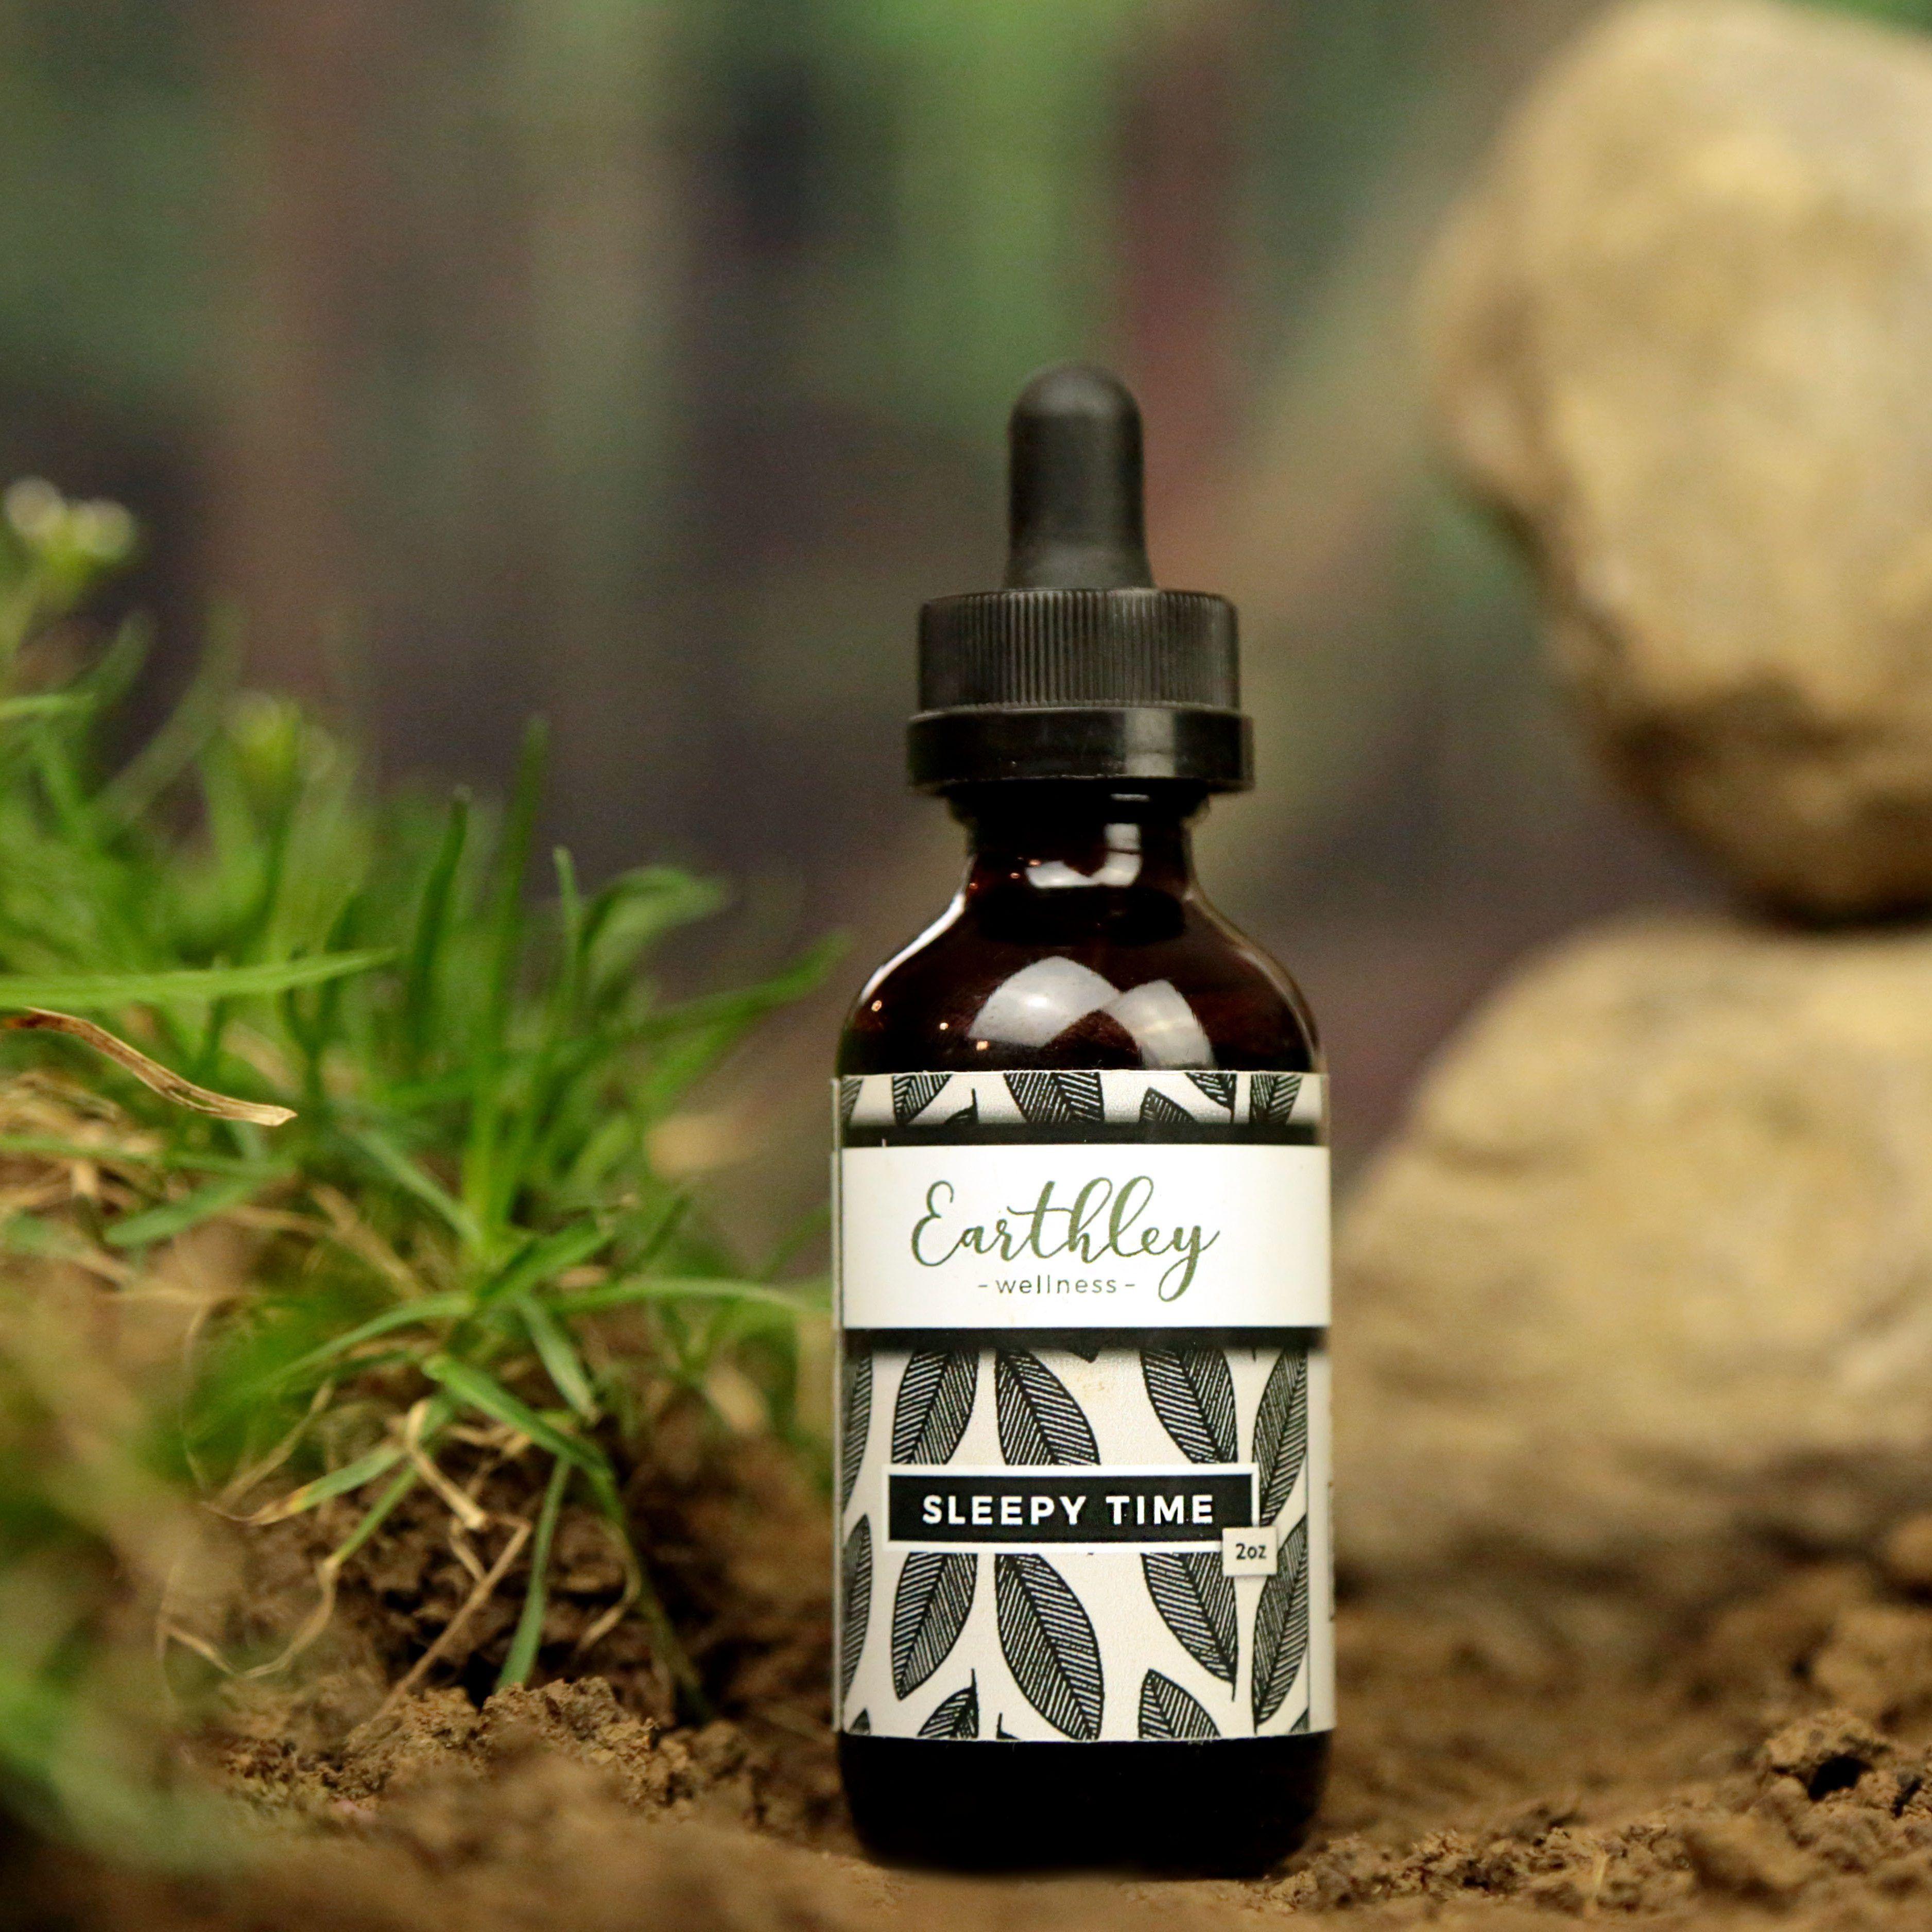
To promote restful sleep
Stay Connected
Get updates and exclusive offers straight to your inbox.