Fermented Garlic Honey

As much as I love fall, the illnesses that start coming around take a lot of the fun out of life. Using healthy foods to keep our immune systems top-notch has really helped me and my family. One of our favorites is fermented garlic honey. It is simple but effective.
Benefits
Garlic has been traditionally used for its antioxidant and immune-supporting properties. It may also have a natural diuretic effect, which can support healthy urine flow and overall well-being. (1)
Honey is known for its antioxidant and soothing properties, and it's often used to provide relief from throat irritation and to support the immune system.(2)
Buying from a local raw honey dealer will be the best option. The store-bought options are often over-processed, losing some of their benefits. Some store options are even more corn syrup than honey! Always read the label and know your source.
When garlic is fermented in the honey, it strengthens the properties of both and is more bioavailable.
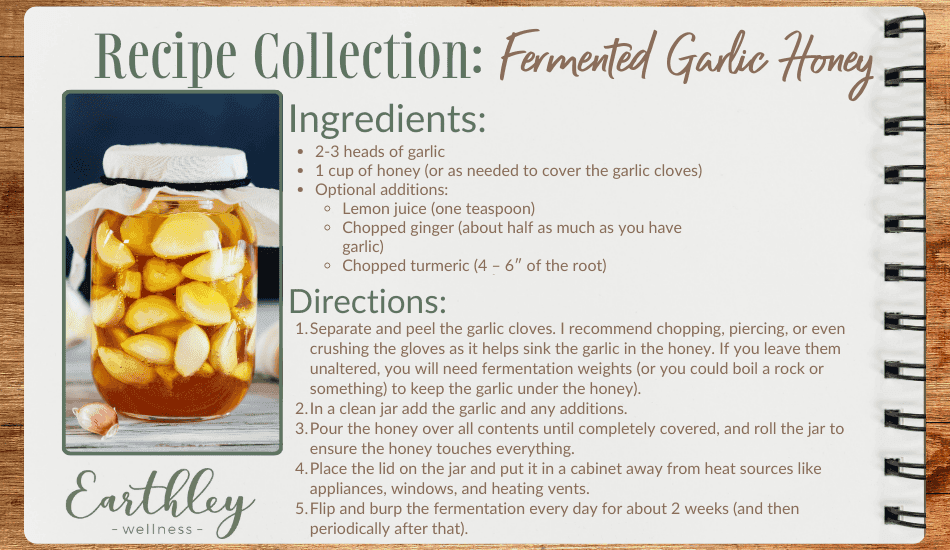
Fermented Garlic Honey
Ingredients:
- 2-3 heads of garlic
- 1 cup of honey (or as needed to cover the garlic cloves)
Optional additions:
- Lemon juice (one teaspoon)
- Chopped ginger (about half as much as you have garlic)
- Chopped turmeric (4 – 6″ of the root)
Directions:
- Separate and peel the garlic cloves. I recommend chopping, piercing, or even crushing the gloves as it helps sink the garlic in the honey. If you leave them unaltered, you will need fermentation weights (or you could boil a rock or something) to keep the garlic under the honey).
- In a clean jar add the garlic and any additions.
- Pour the honey over all contents until completely covered, and roll the jar to ensure the honey touches everything.
- Place the lid on the jar and put it in a cabinet away from heat sources like appliances, windows, and heating vents.
- Flip and burp the fermentation every day for about 2 weeks (and then periodically after that). To burp, simply open the jar and release the built-up gasses (you’ll know by the hissing sound it makes). After burping, flip the jar from standing to upside down (I place it upside down over a napkin or paper towel in case it leaks). This will ensure the garlic remains under the honey (if you’re using fermentation weights, you can skip flipping the jar).
Notes:
- Consume a clove or two when needed or just because you enjoy the flavor!
- The honey can be used as regular honey (keeping the new taste in mind) or a spoonful taken whenever you wish.
- The fermentation is complete when the garlic honey is no longer releasing gas. In my experience, this is usually about two weeks into burping and flipping the container. Some say to let it sit for at least another two weeks after the fermentation is solid, but if illness hits, I say go for it.
- Store in a cool, dark cabinet. Refrigeration is not necessary. When exposed or experiencing illness, consume one or two cloves! You can even use the honey for cooking, just keep in mind, it’s new flavor.
- Some people worry about botulism. If you are concerned, this information may help. According to the US Department of Agriculture, mixtures of garlic oil stored at room temperature are at risk of developing botulism. Since no oil is added in this recipe, it’s likely not a concern, but if you’re worried, you could store it in the refrigerator or in the freezer for several months.